EHYONG STYLE LAB

50 CINEMATICLIGHTING SETUPS

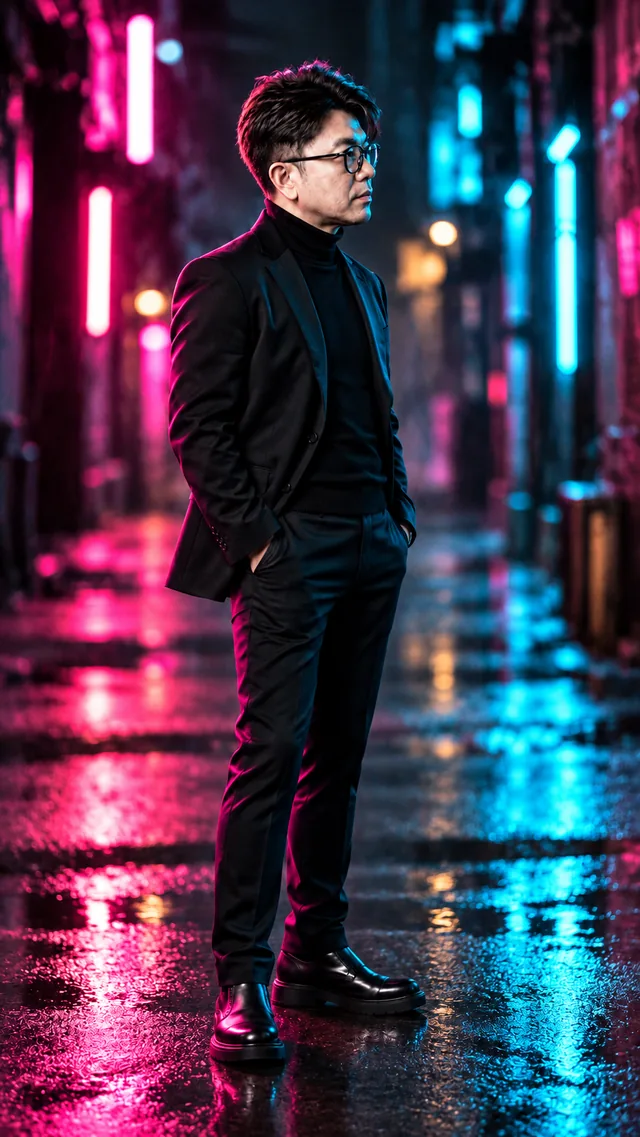
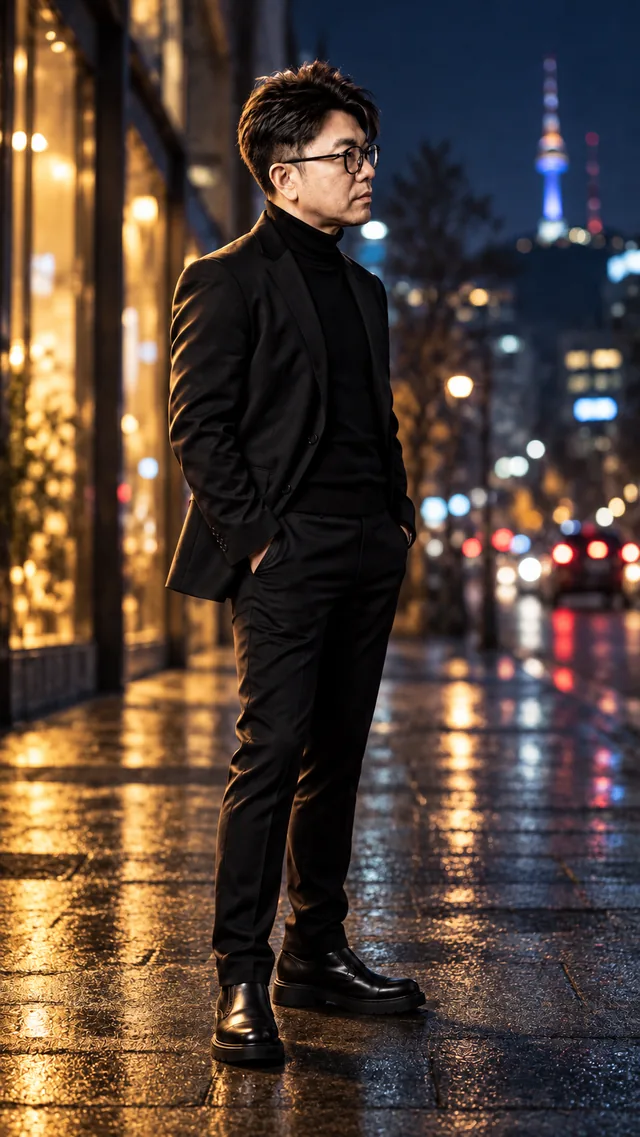
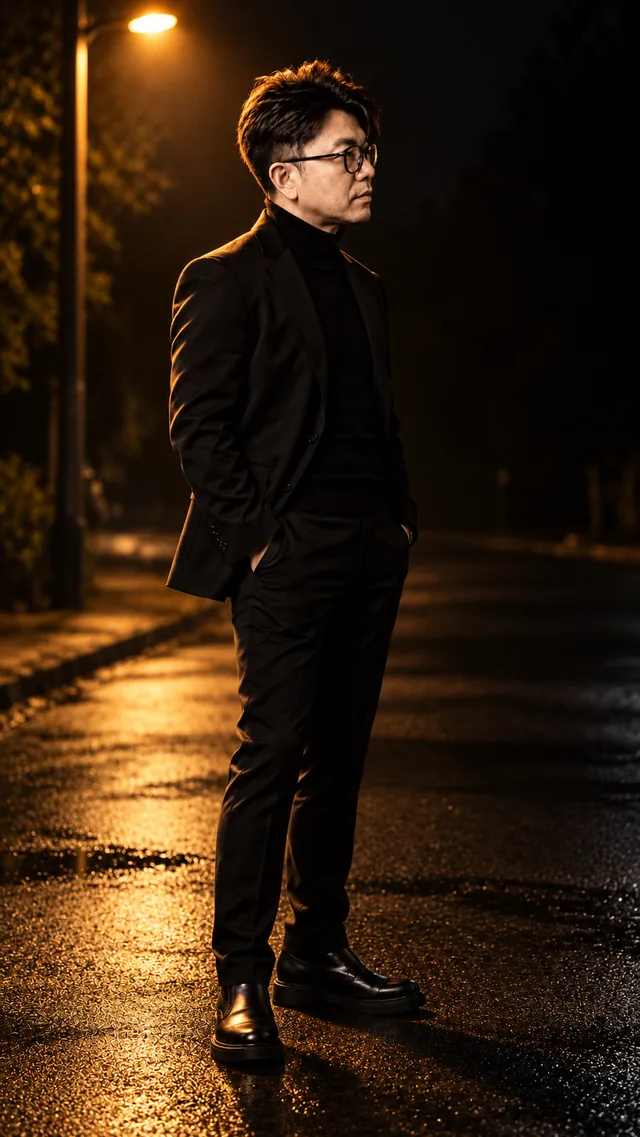
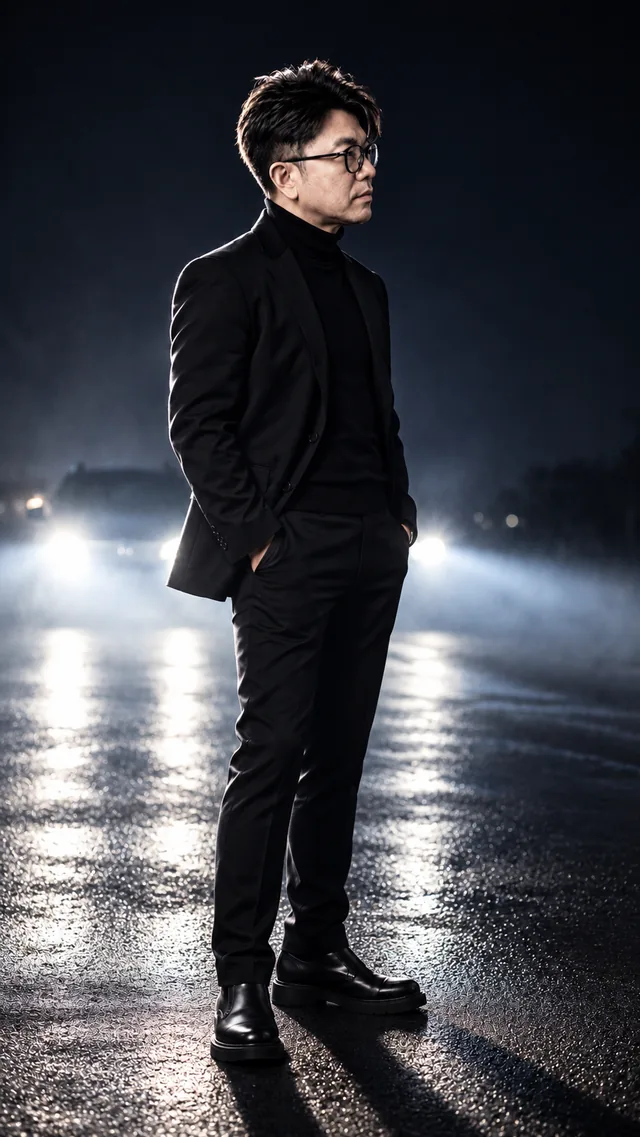
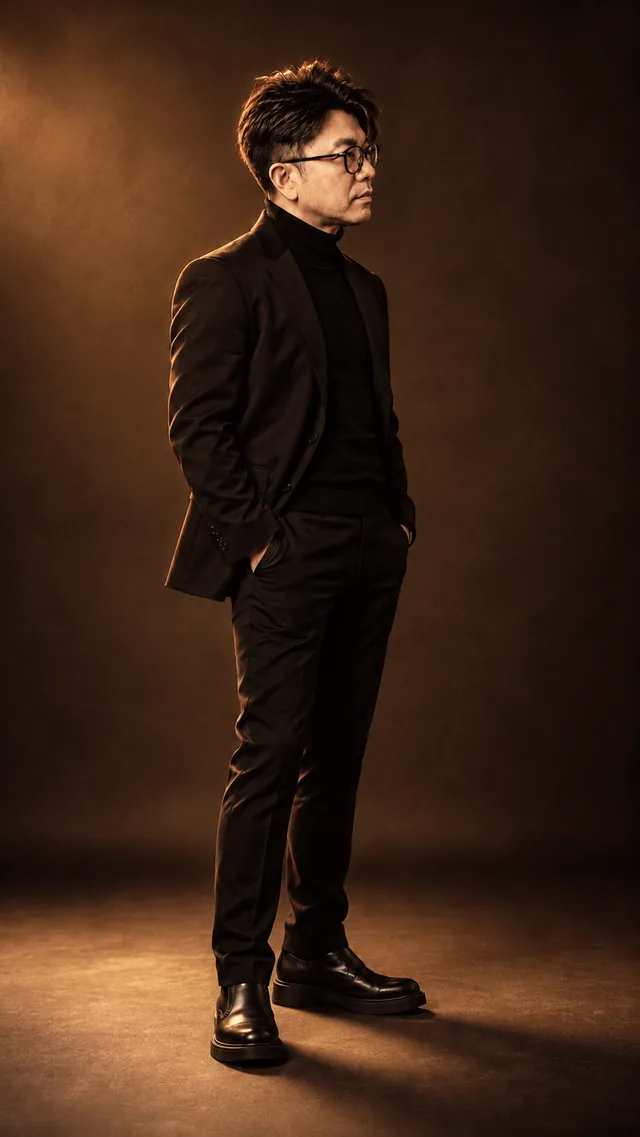
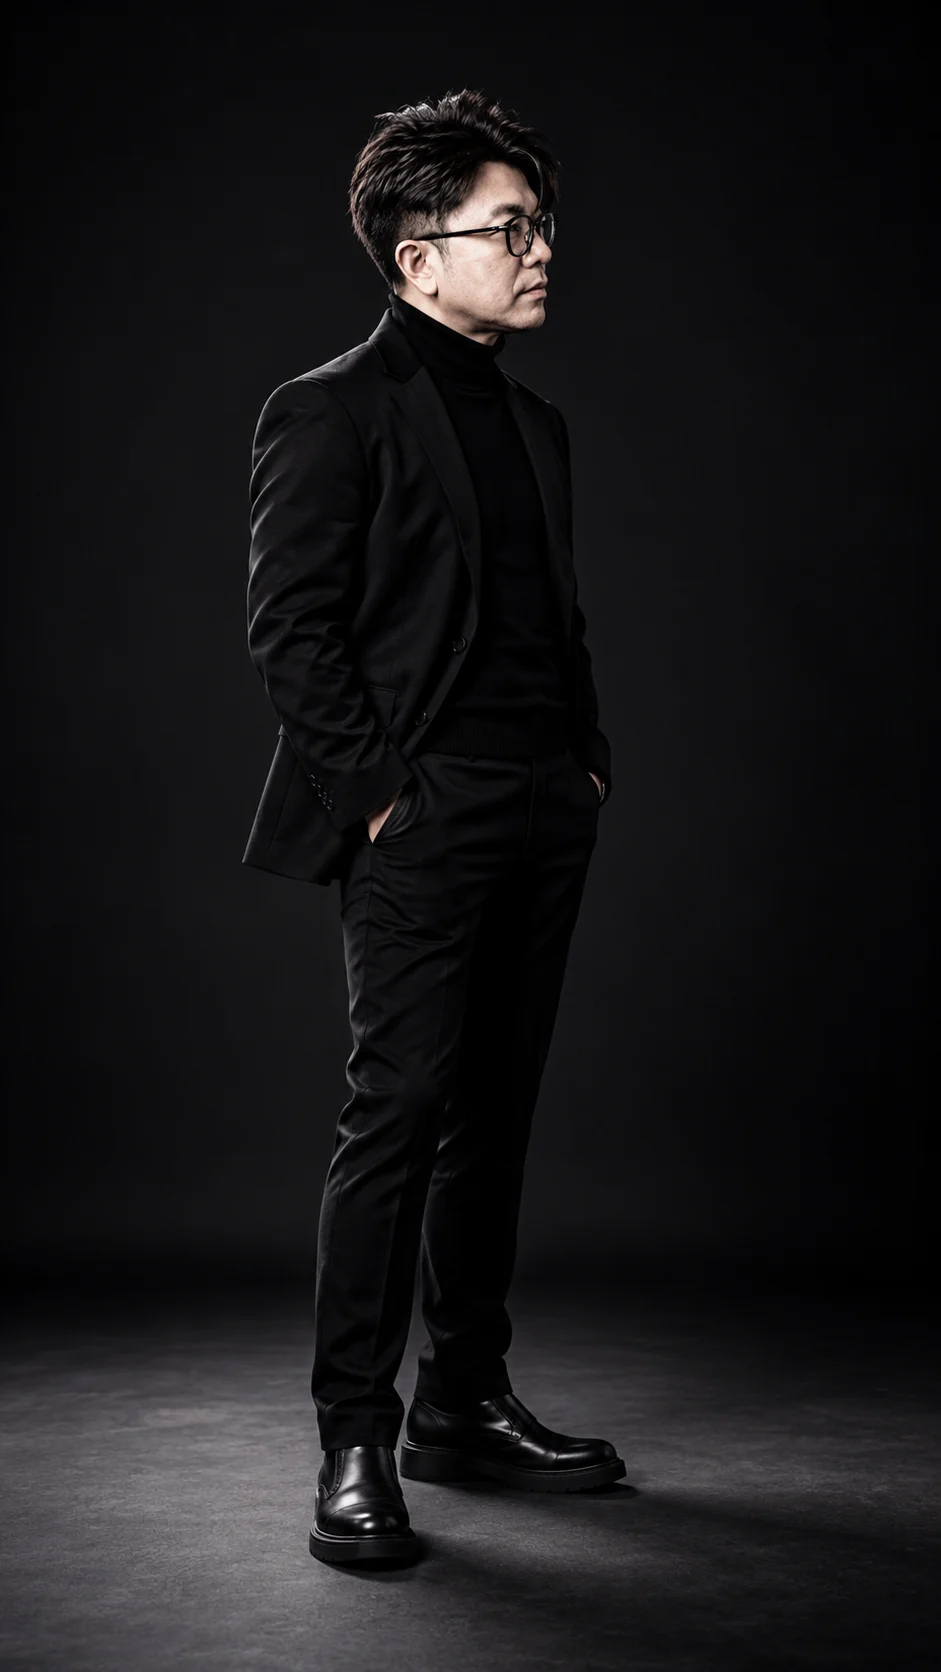
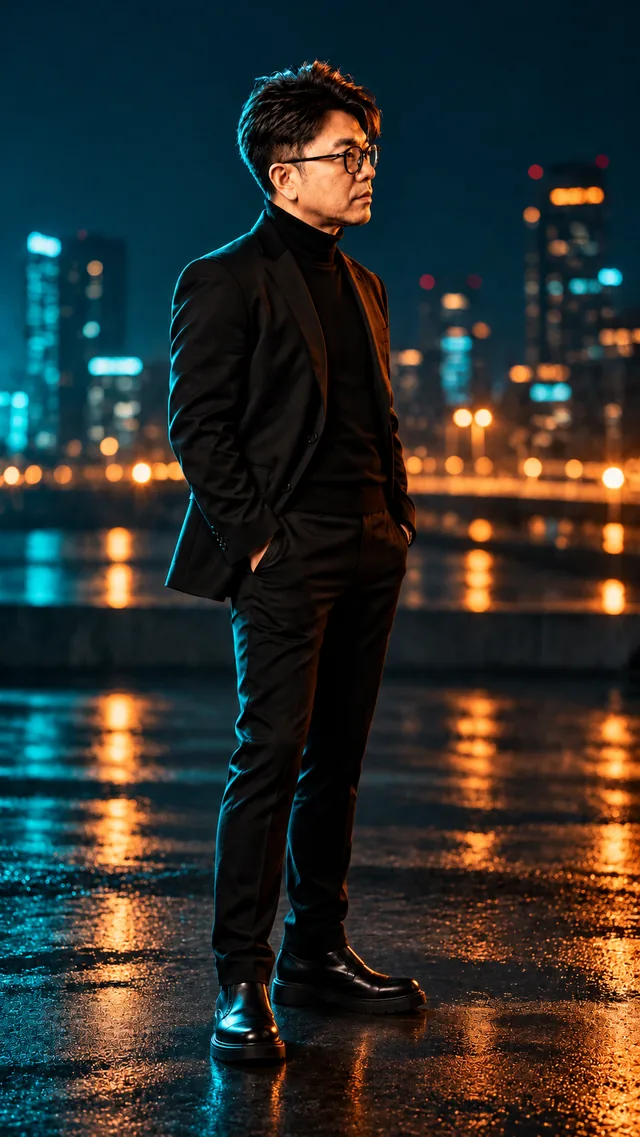
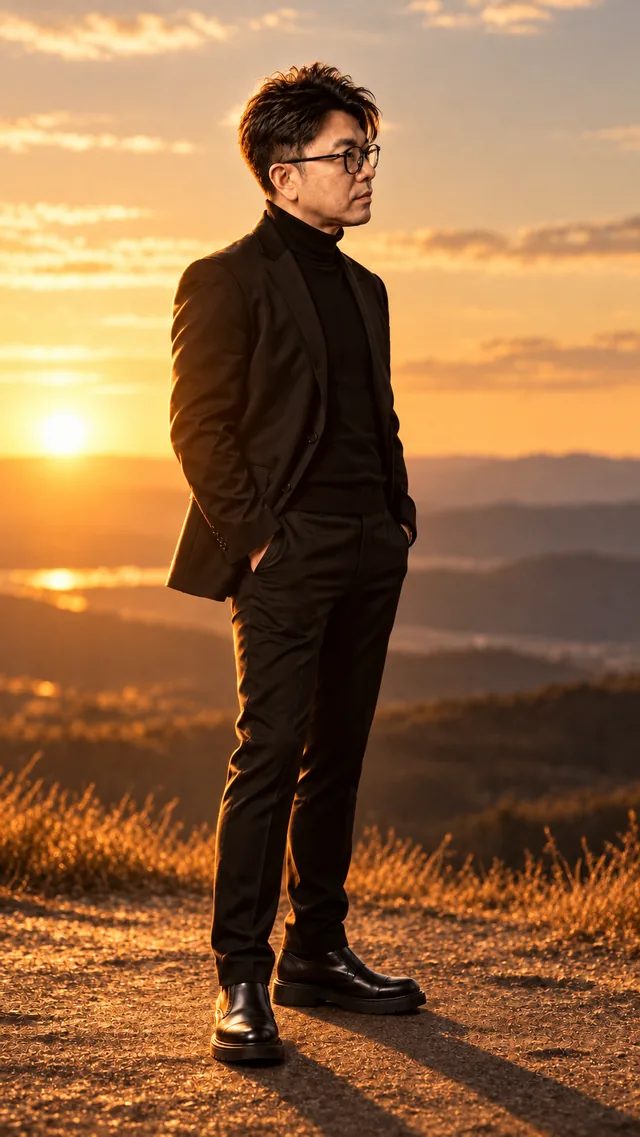
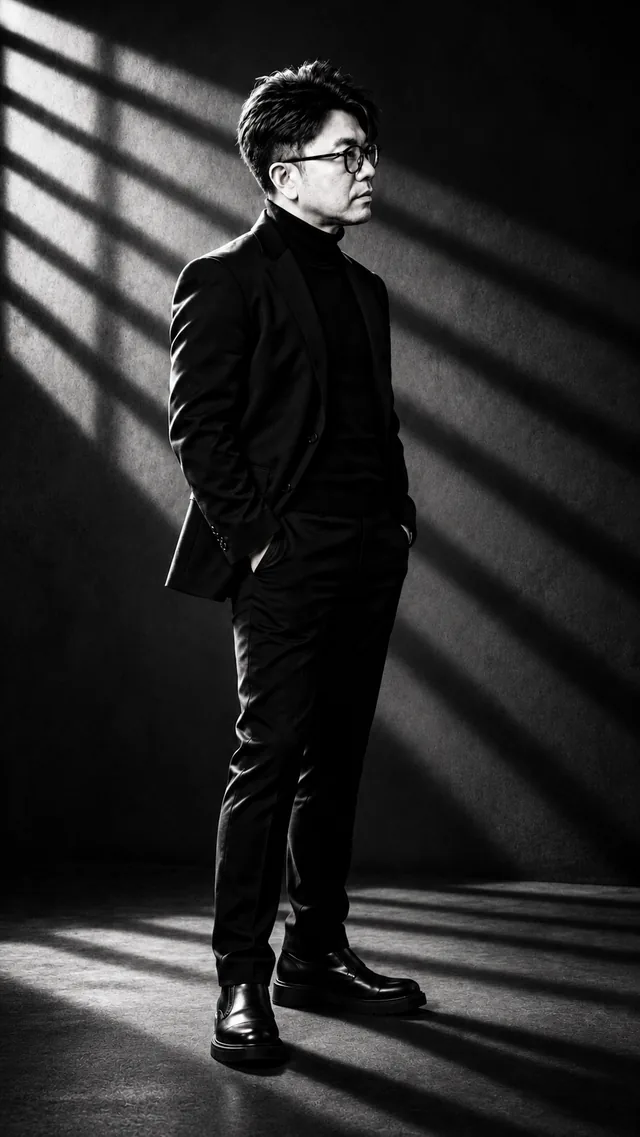
One subject. 50 ways to shape the light.

Explore how different lighting techniques change mood, depth and storytelling — then copy the prompt and try it on your own image.
50 Lighting SetupsPrompts IncludedFreeNo Sign-up

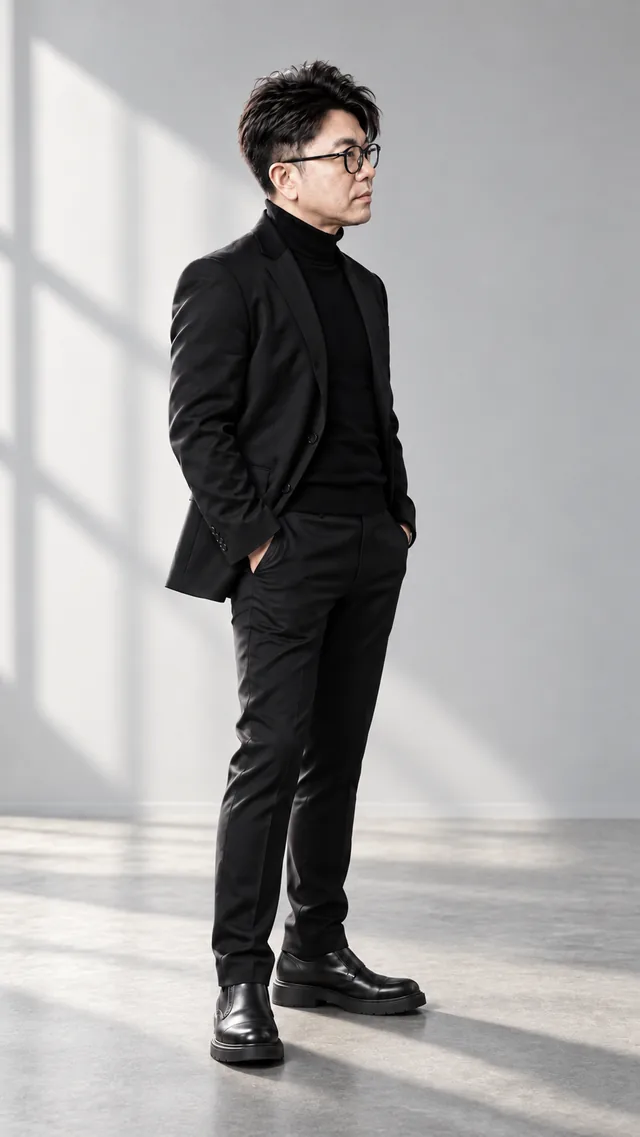
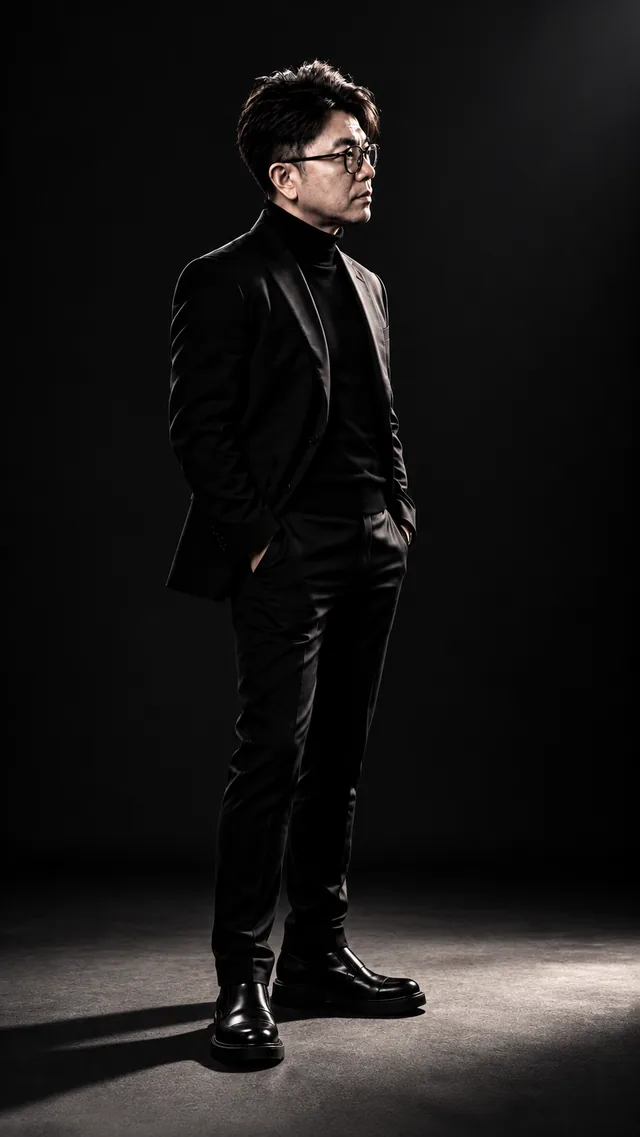
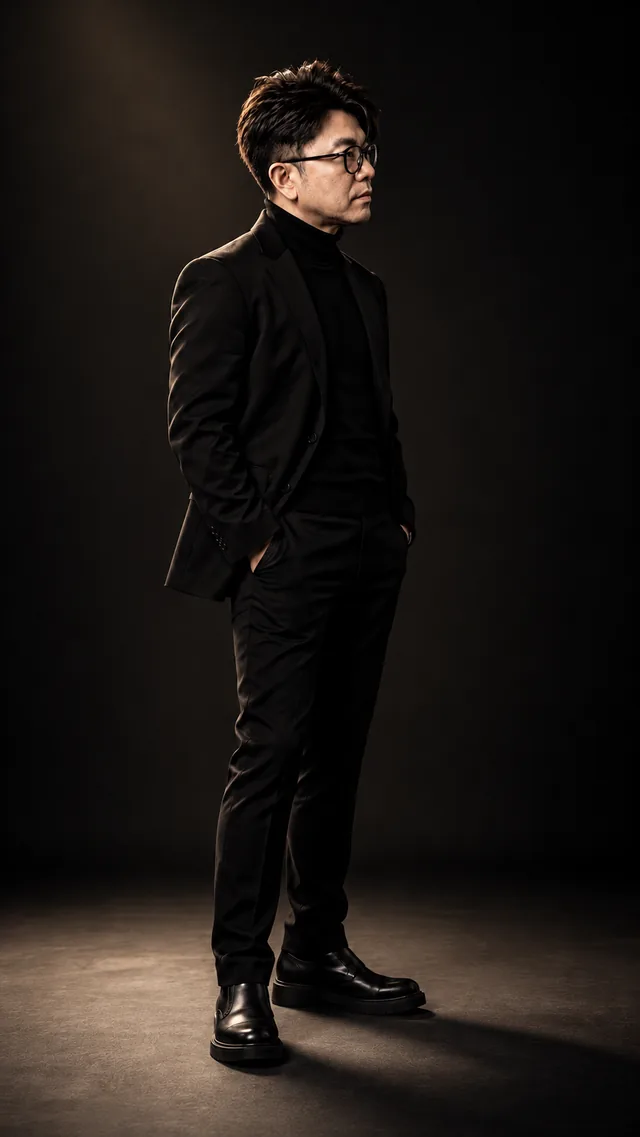
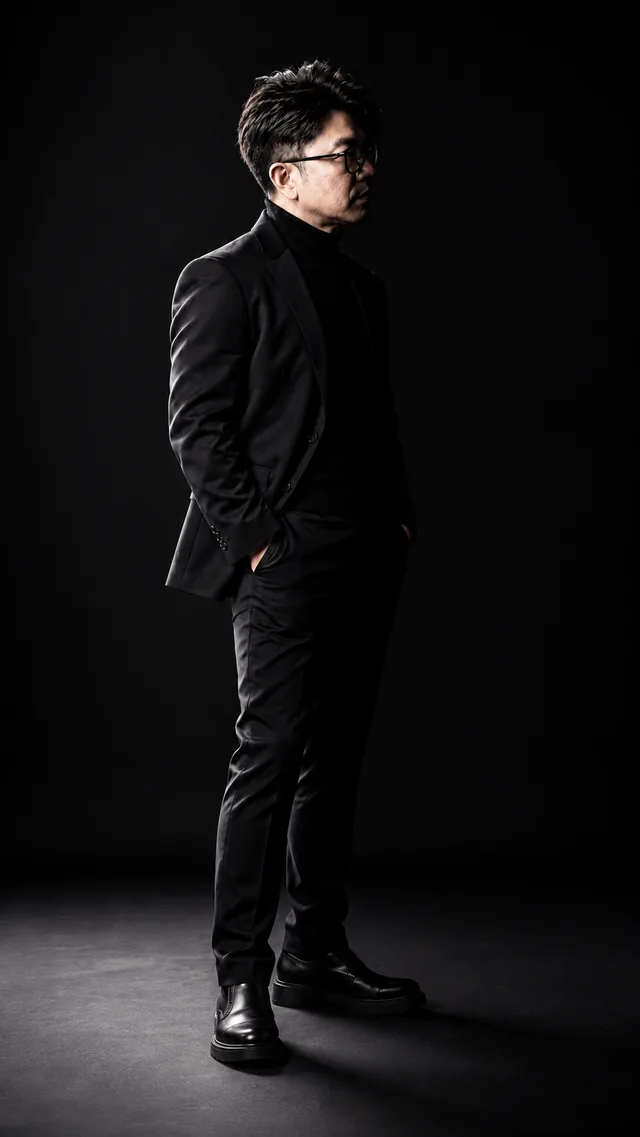
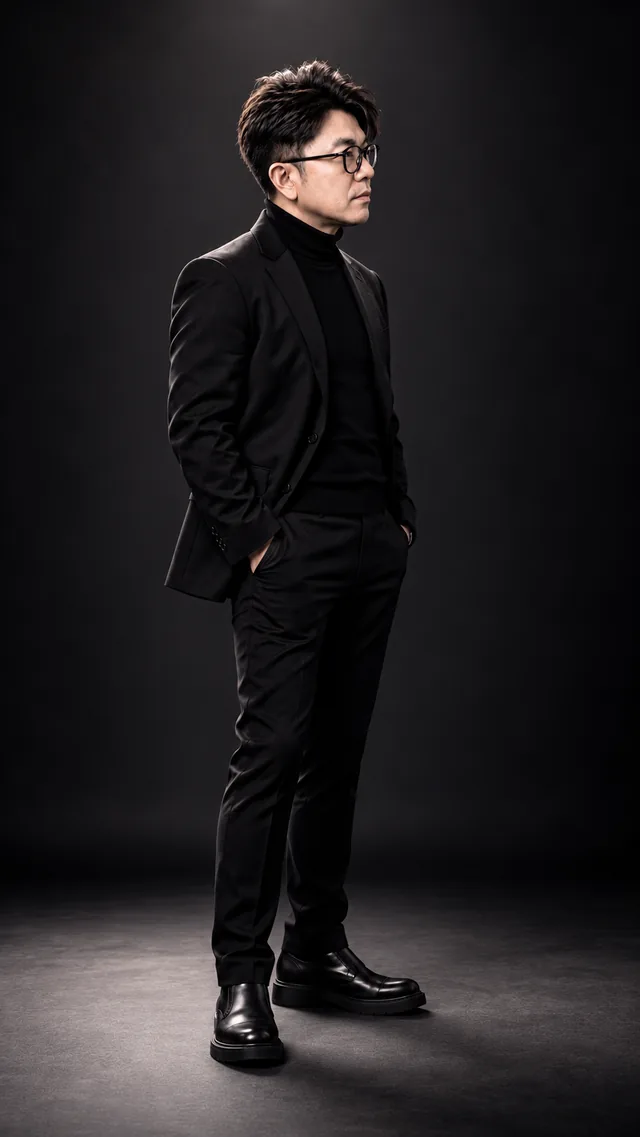
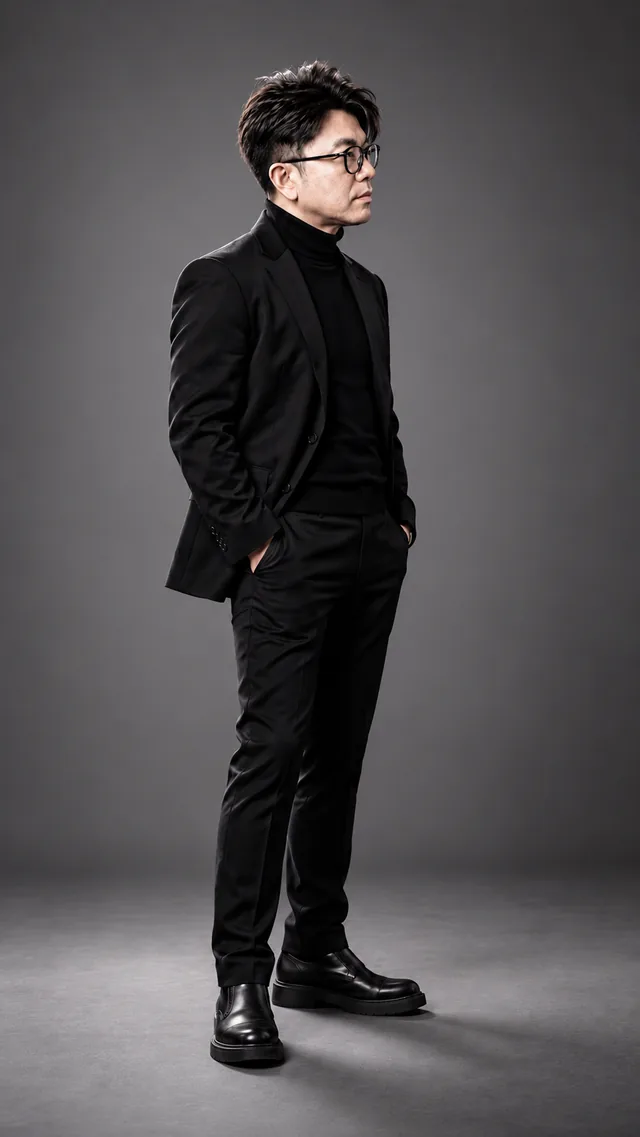
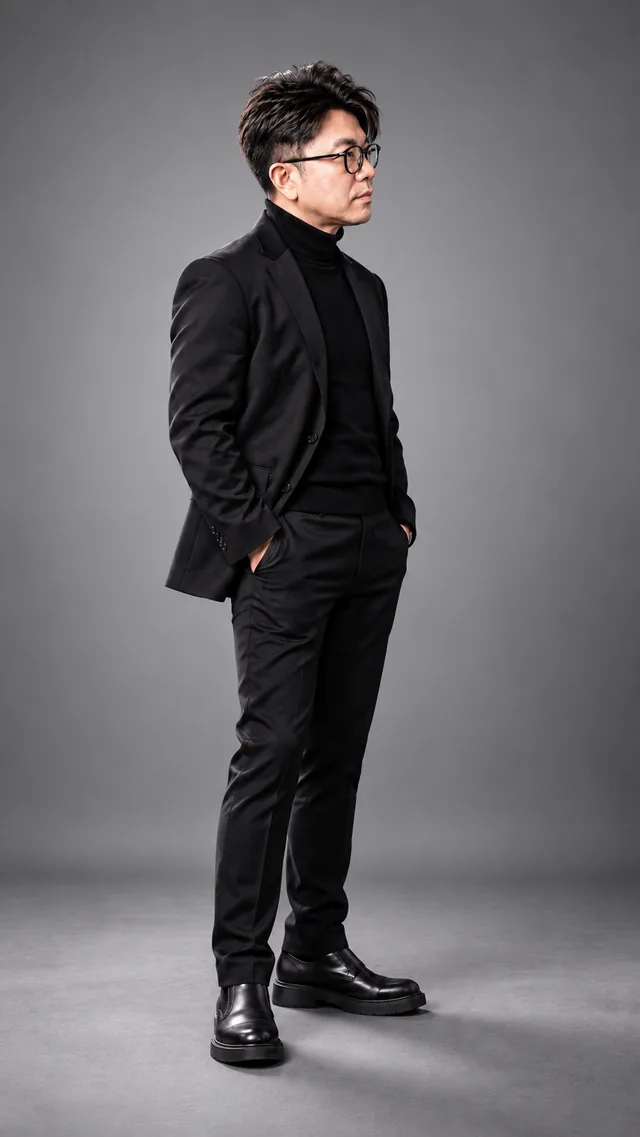
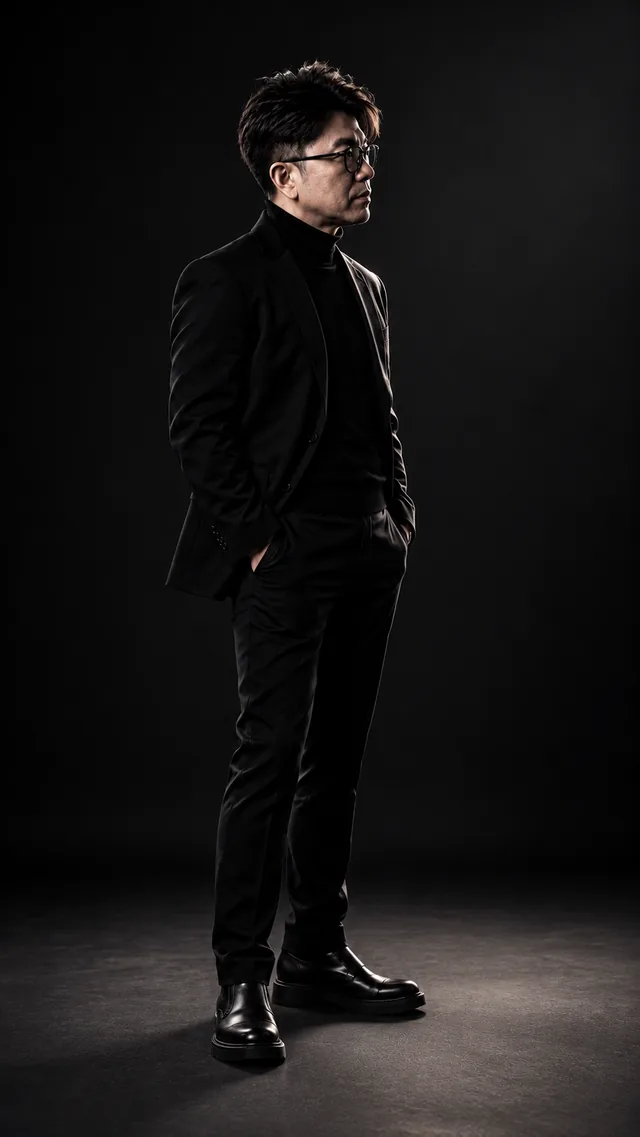
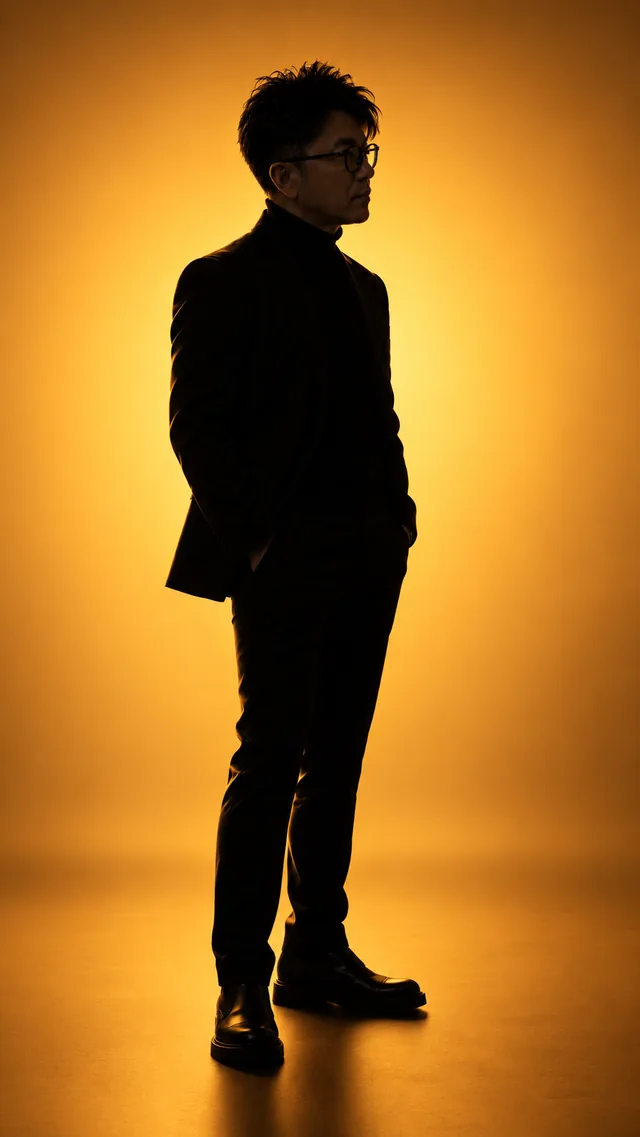
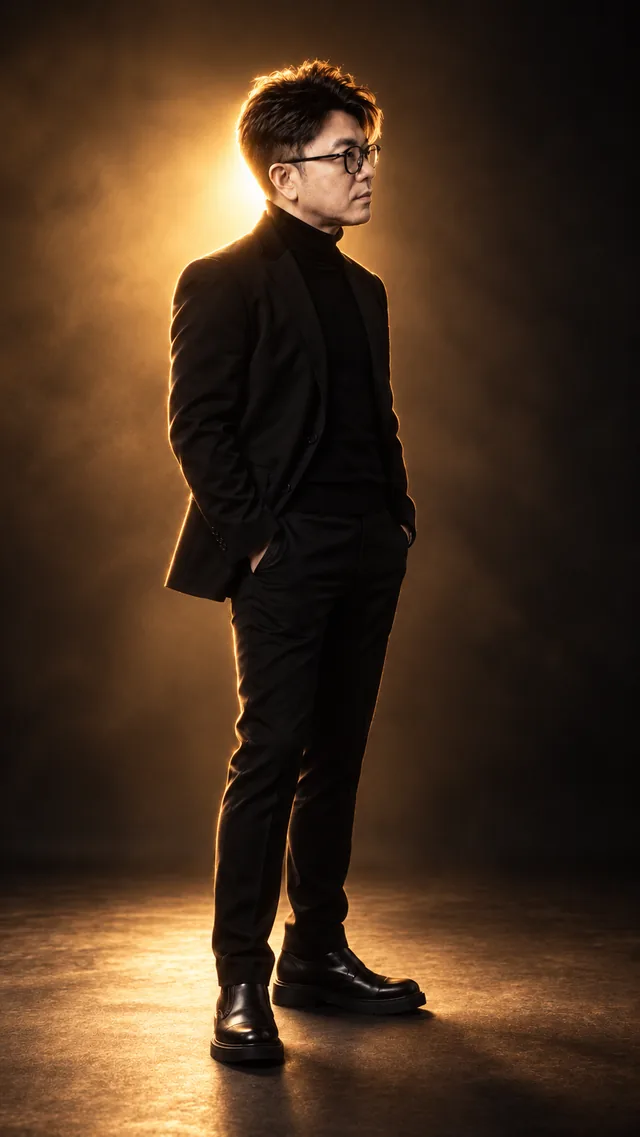
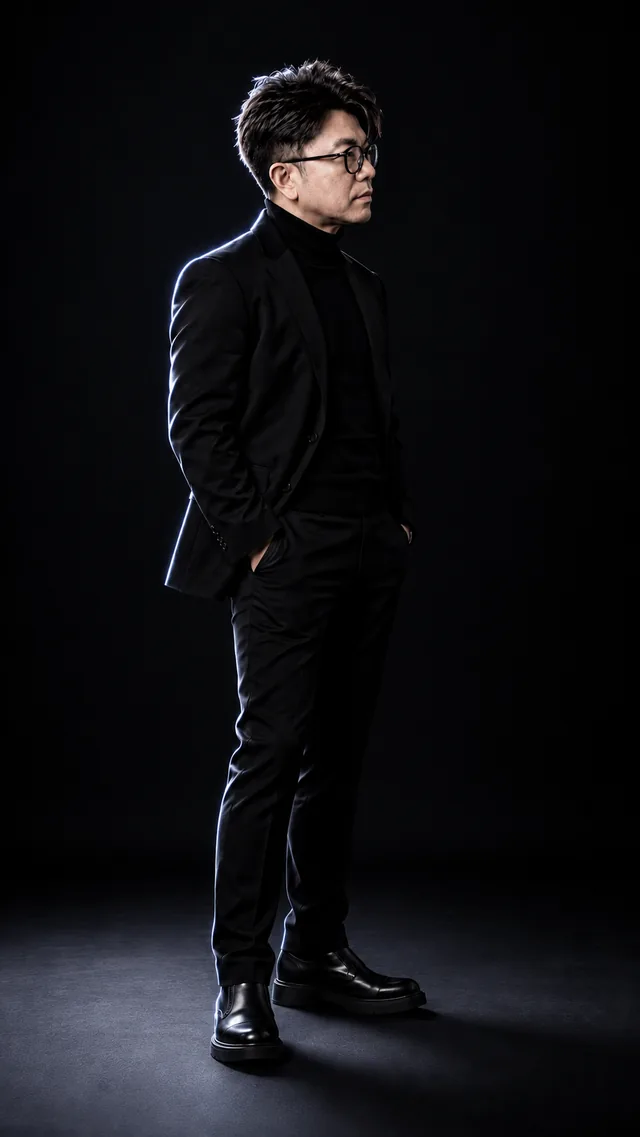
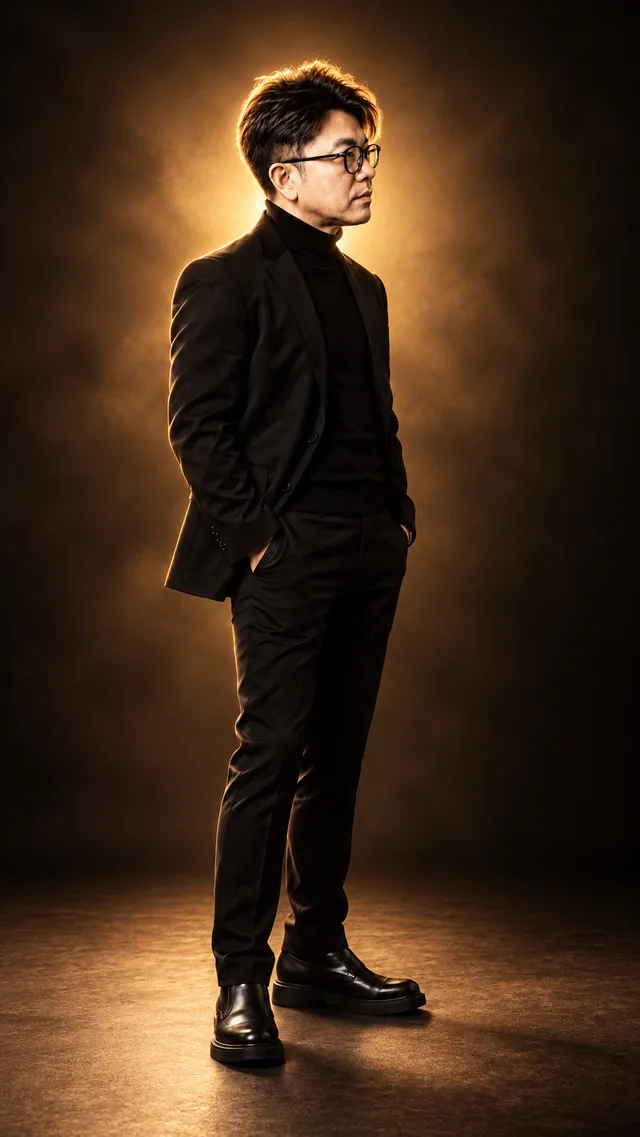
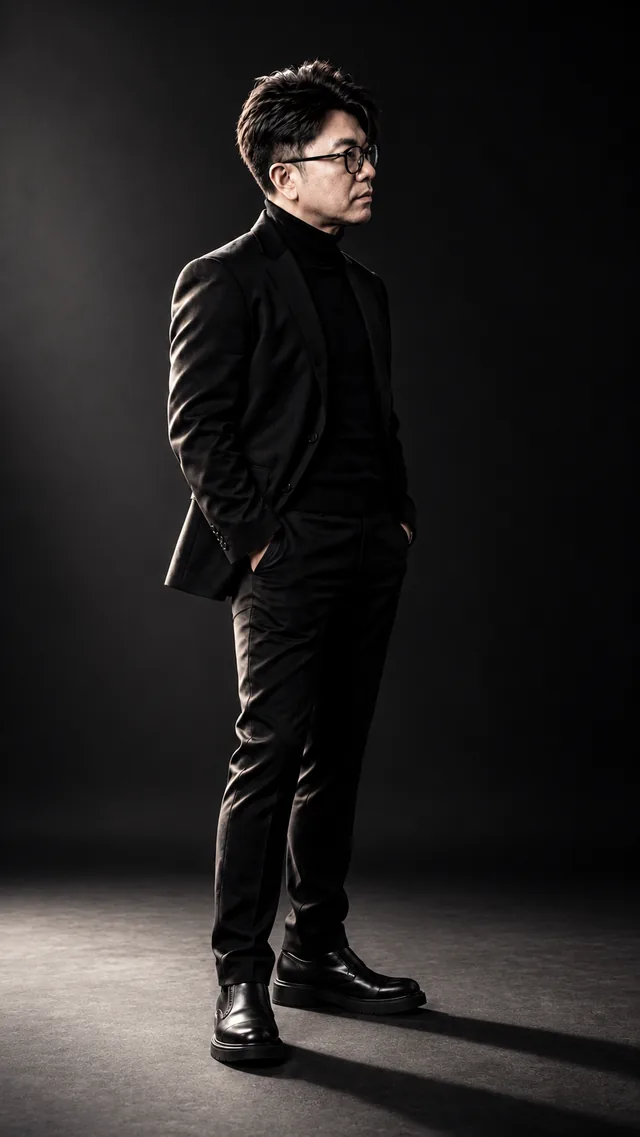
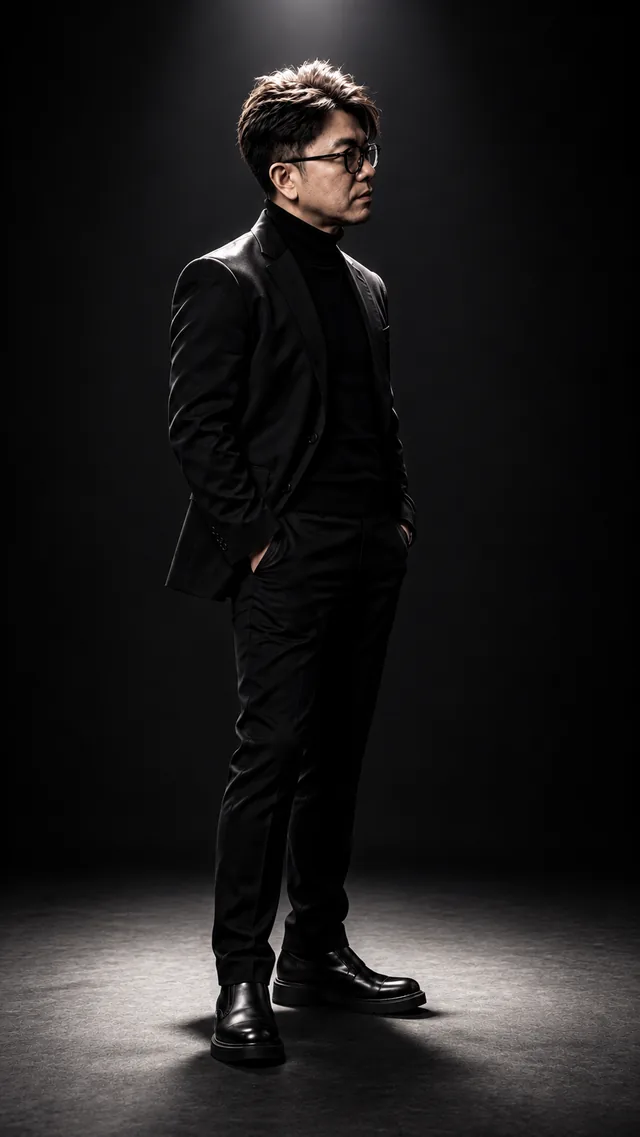
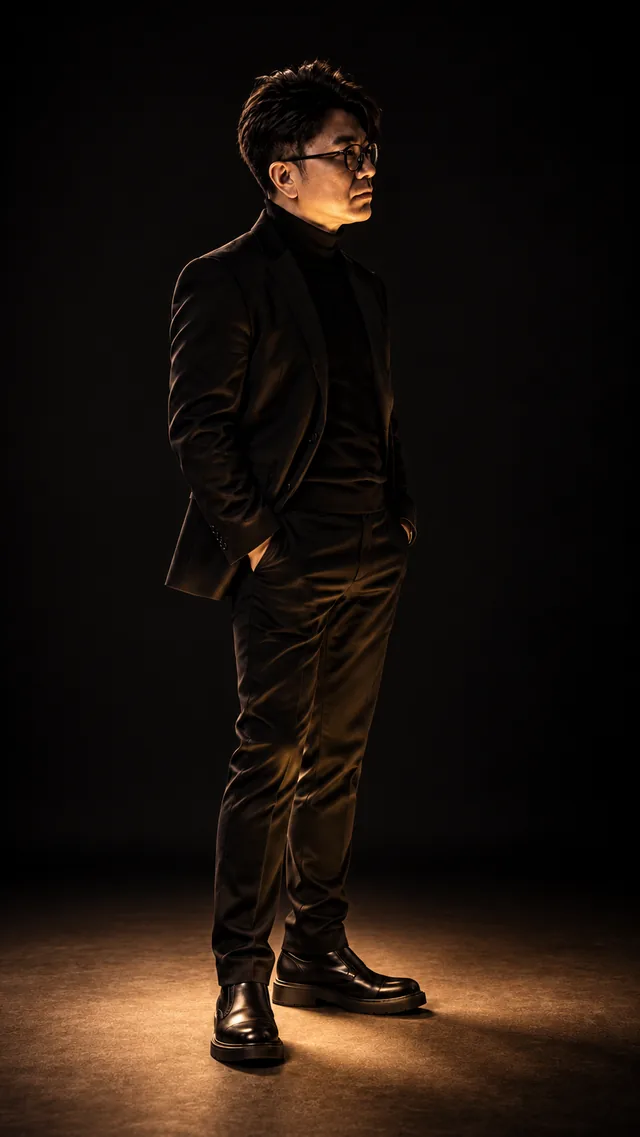
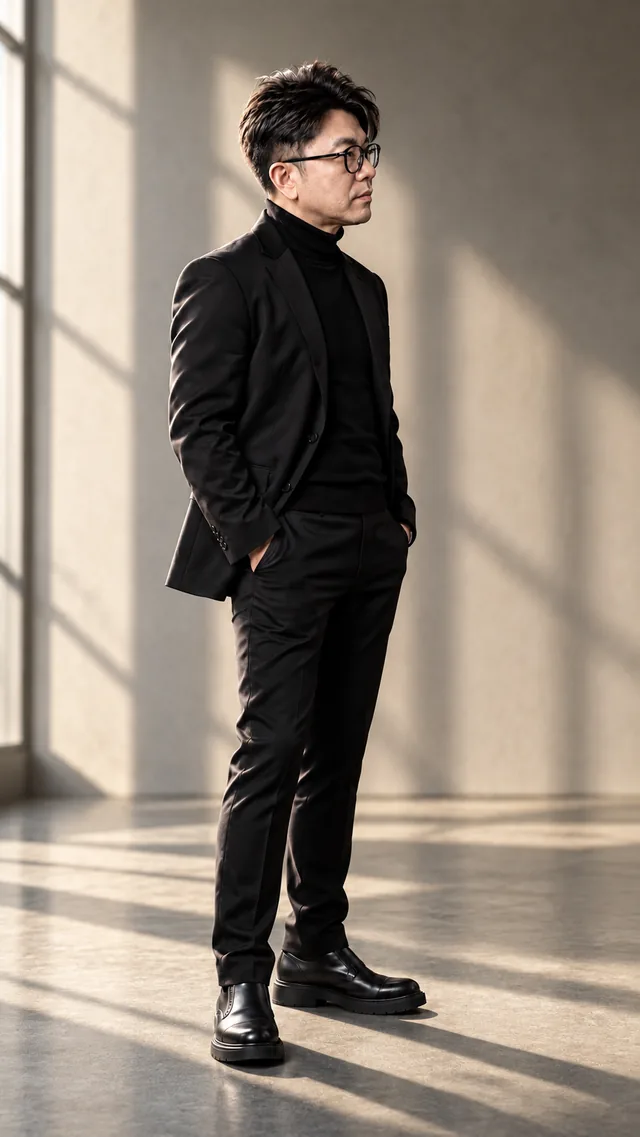
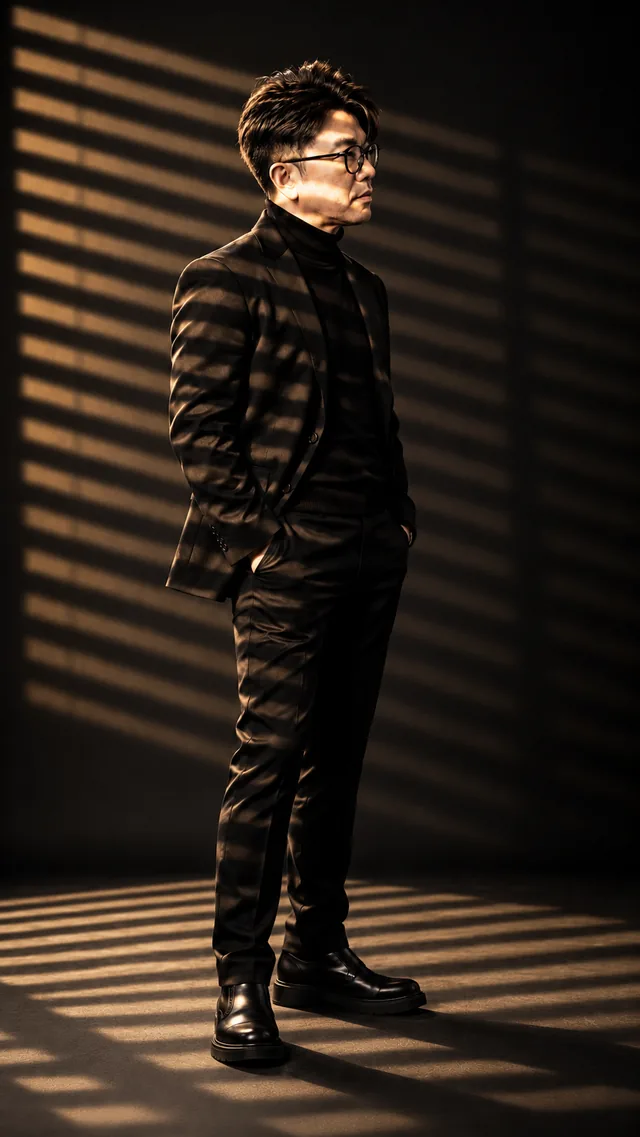
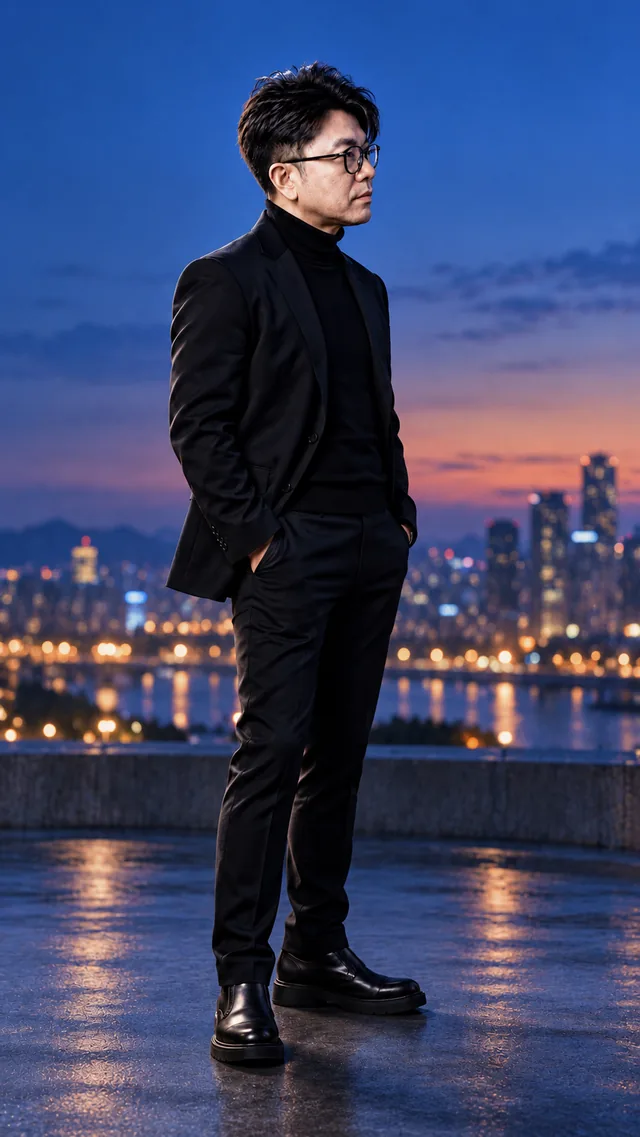
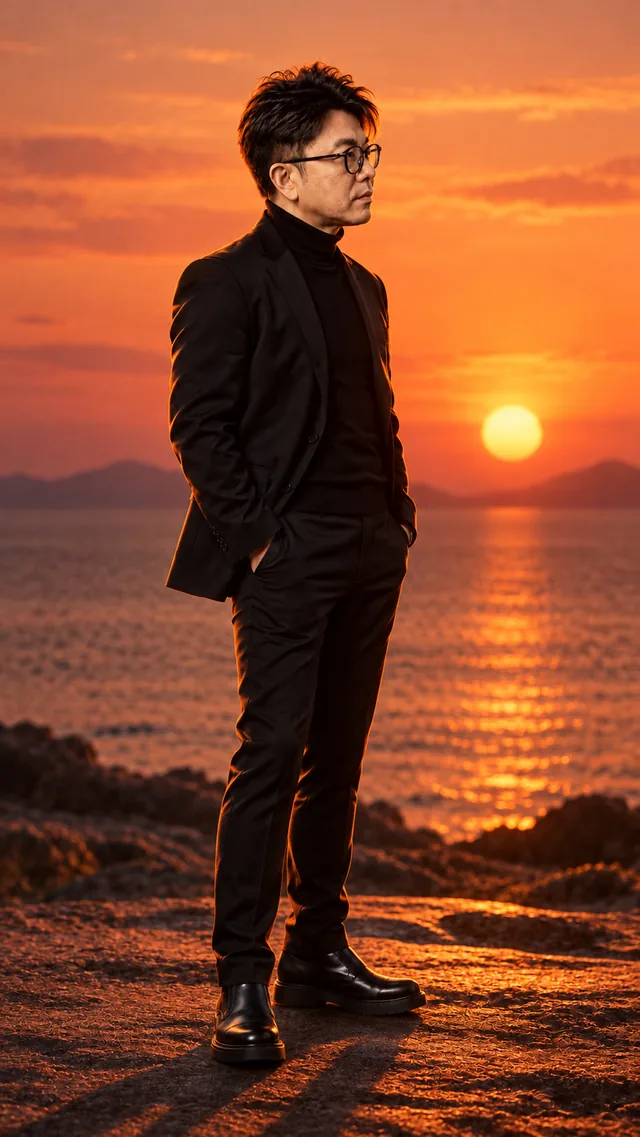
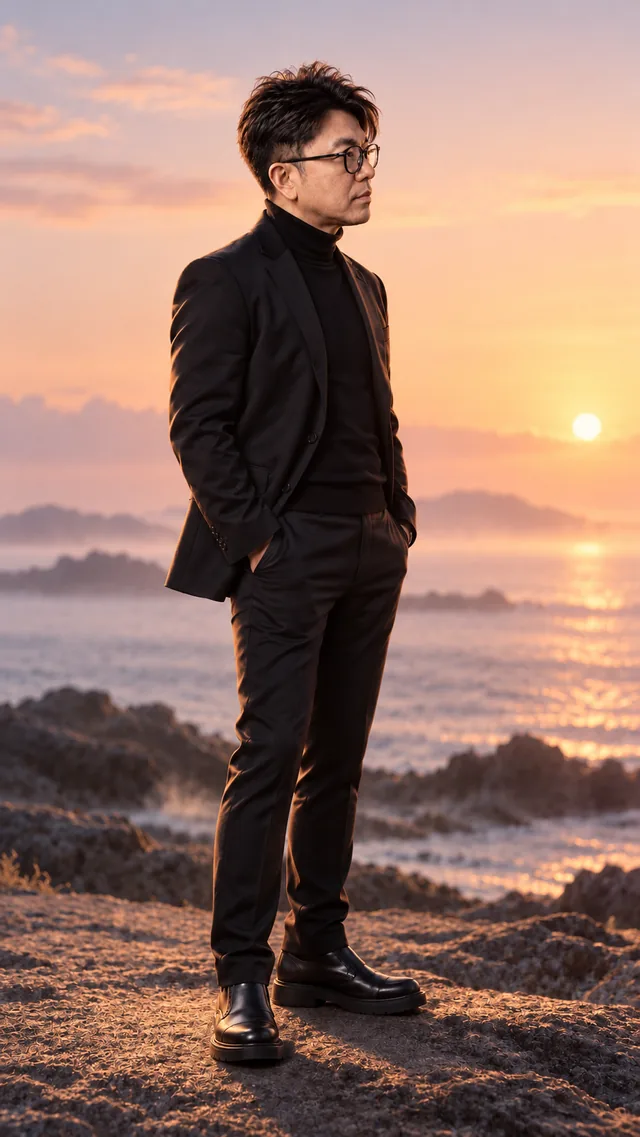
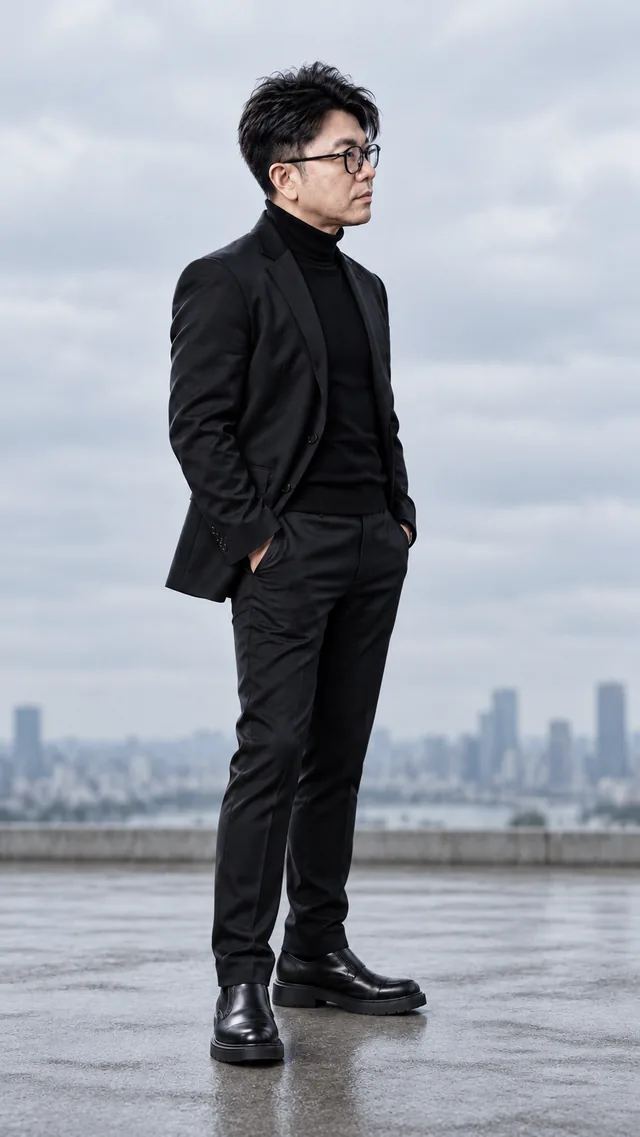
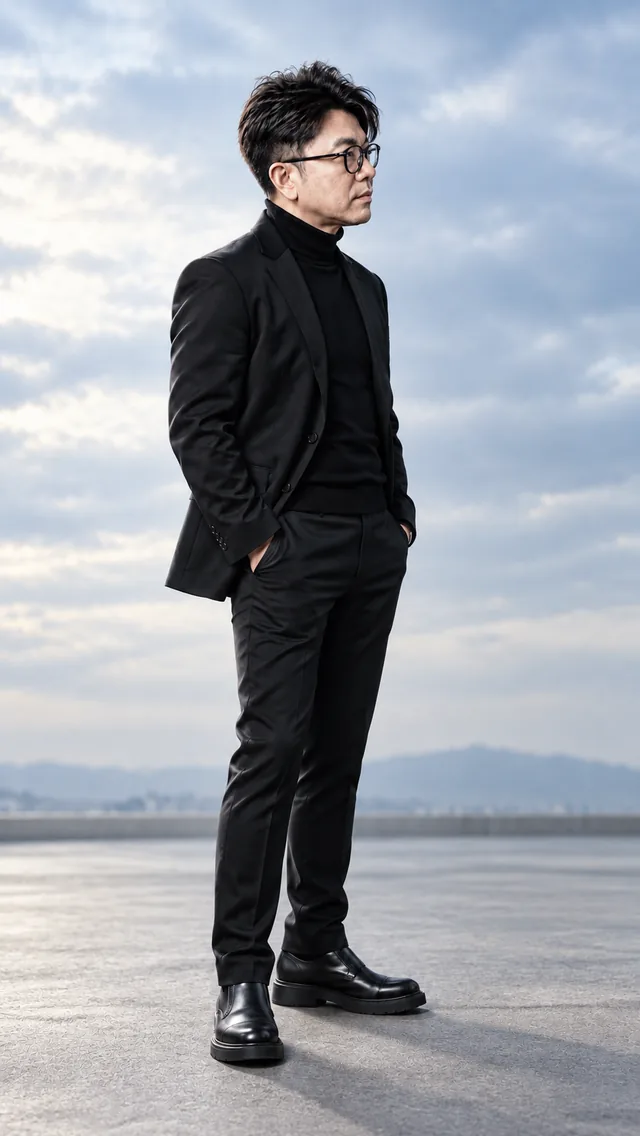
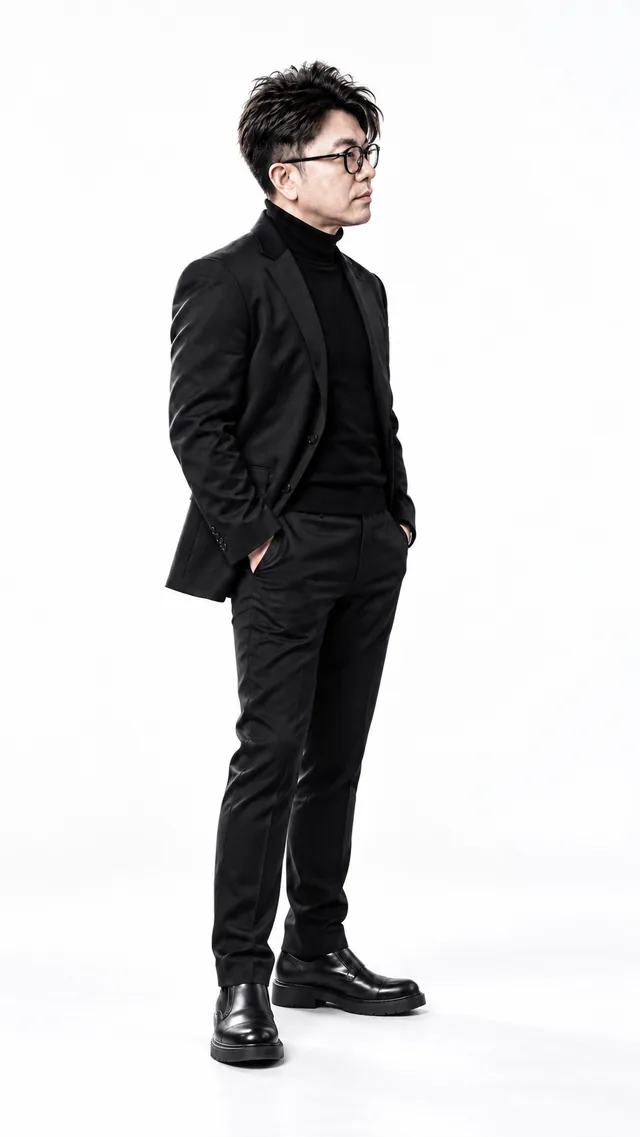
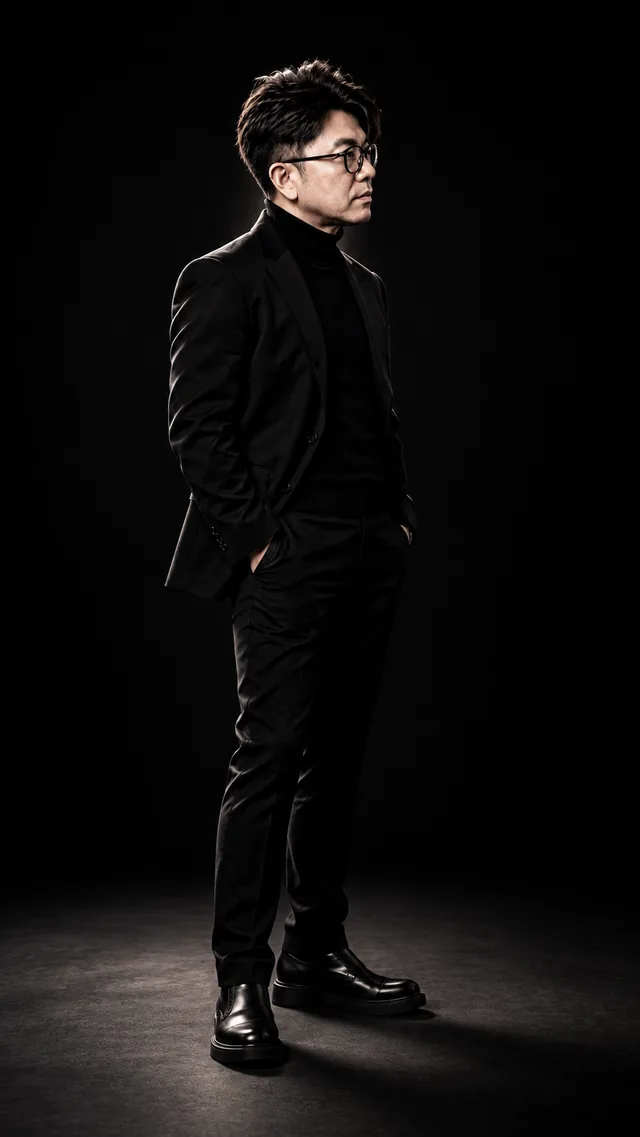
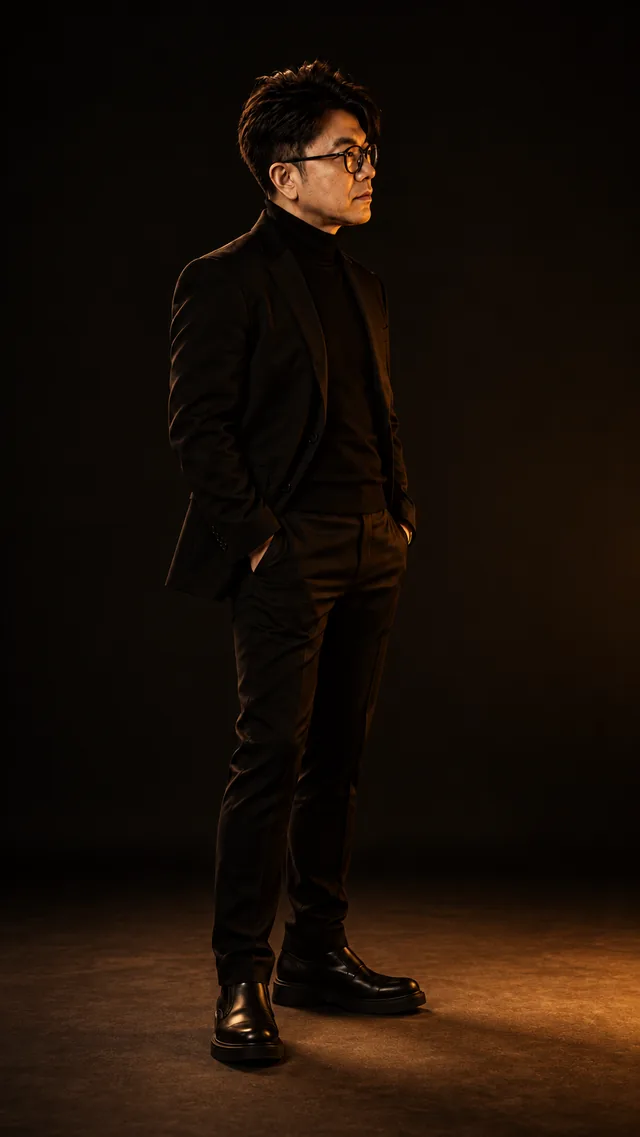
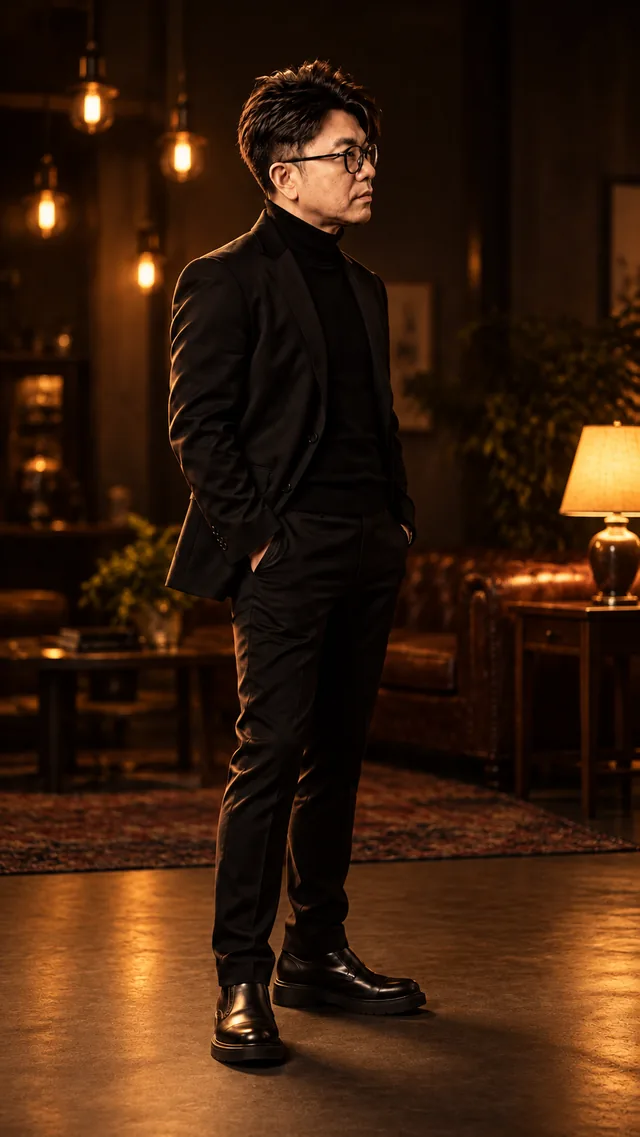
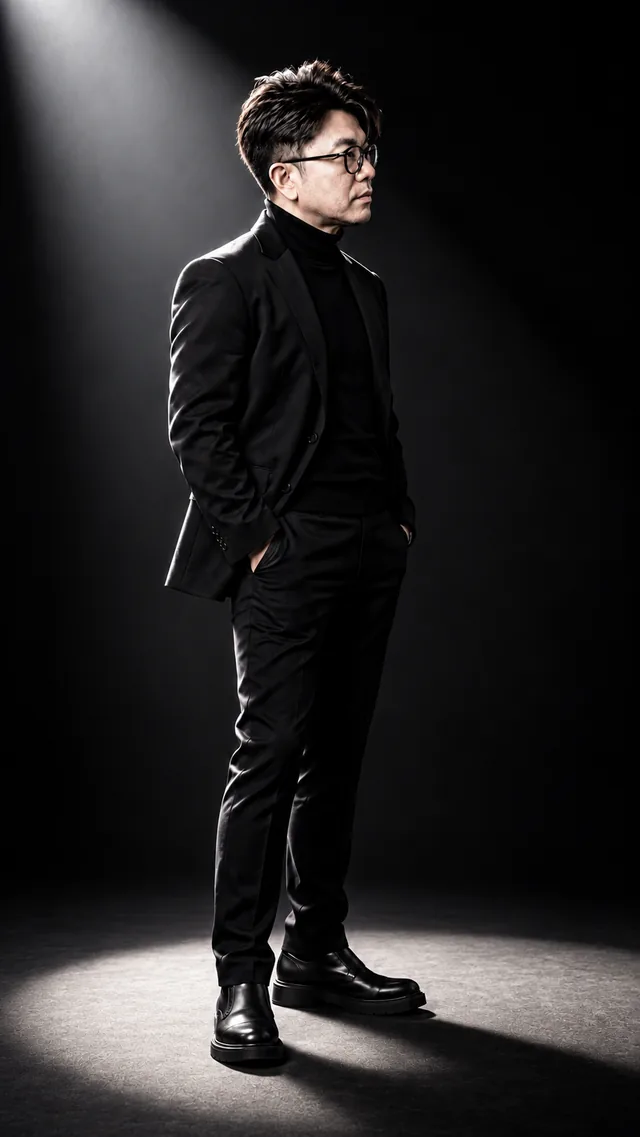
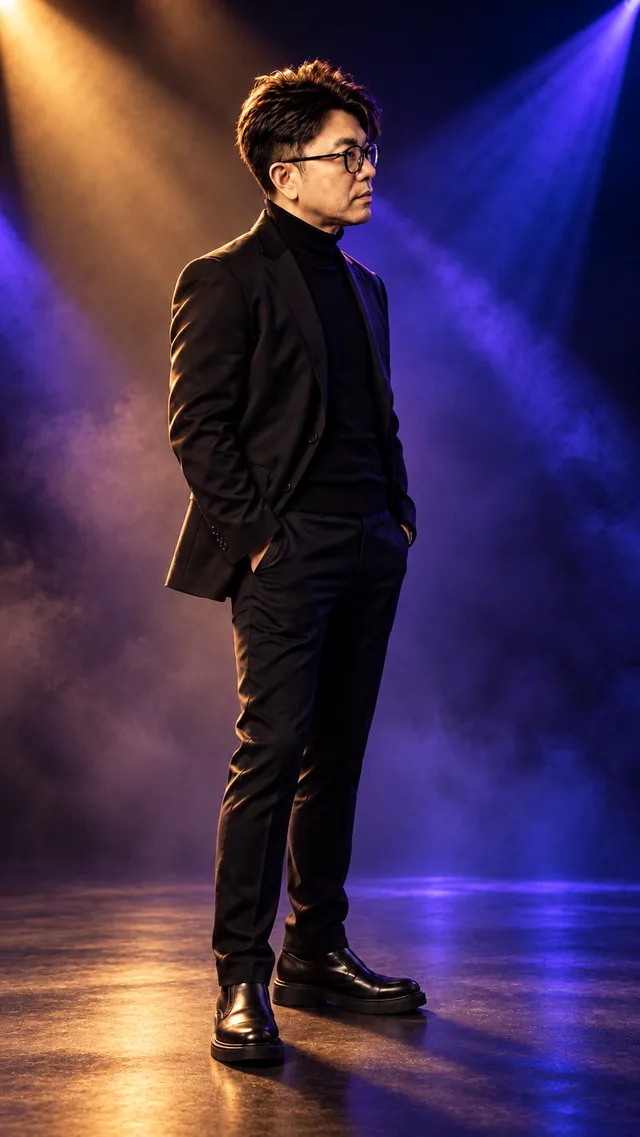
One subject / Different lightAn experiment by Han Yong

50 / 50 setups

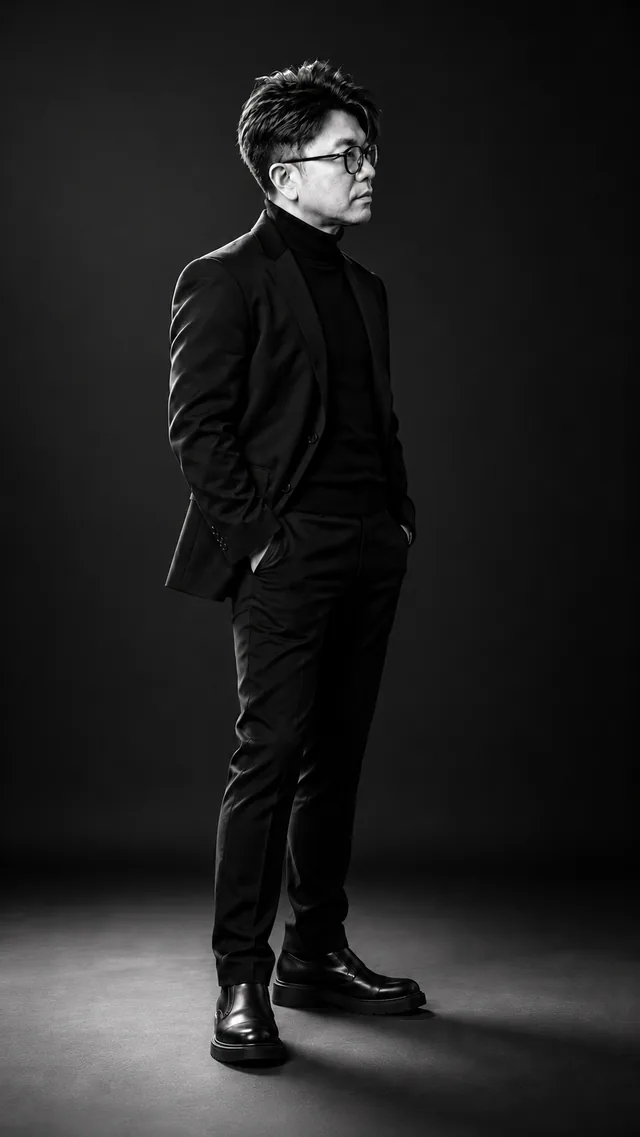
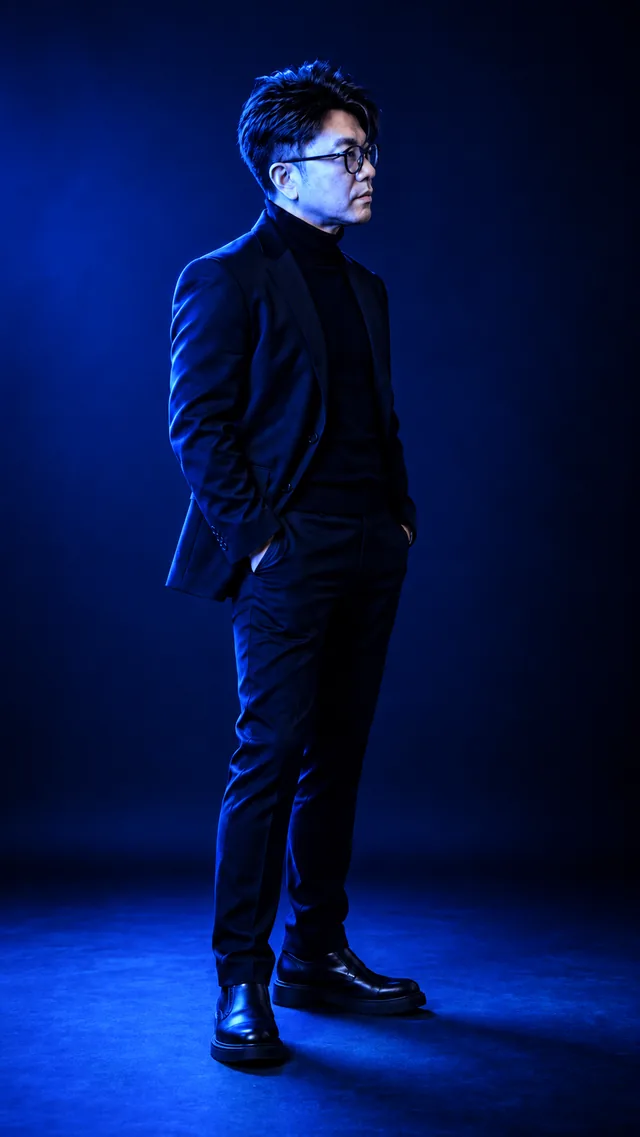
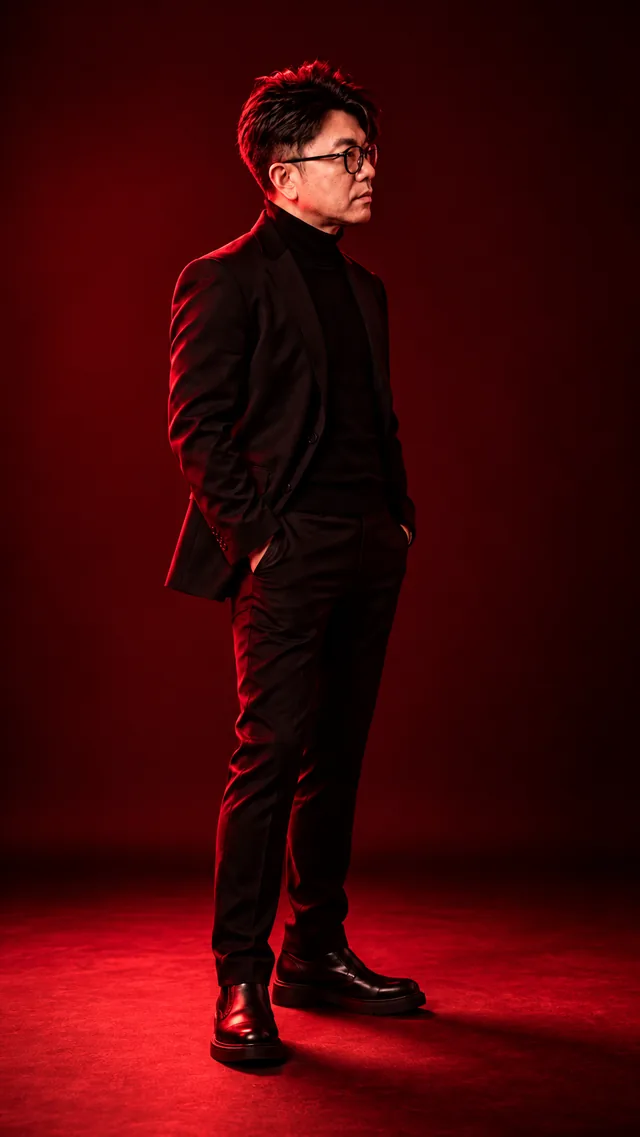
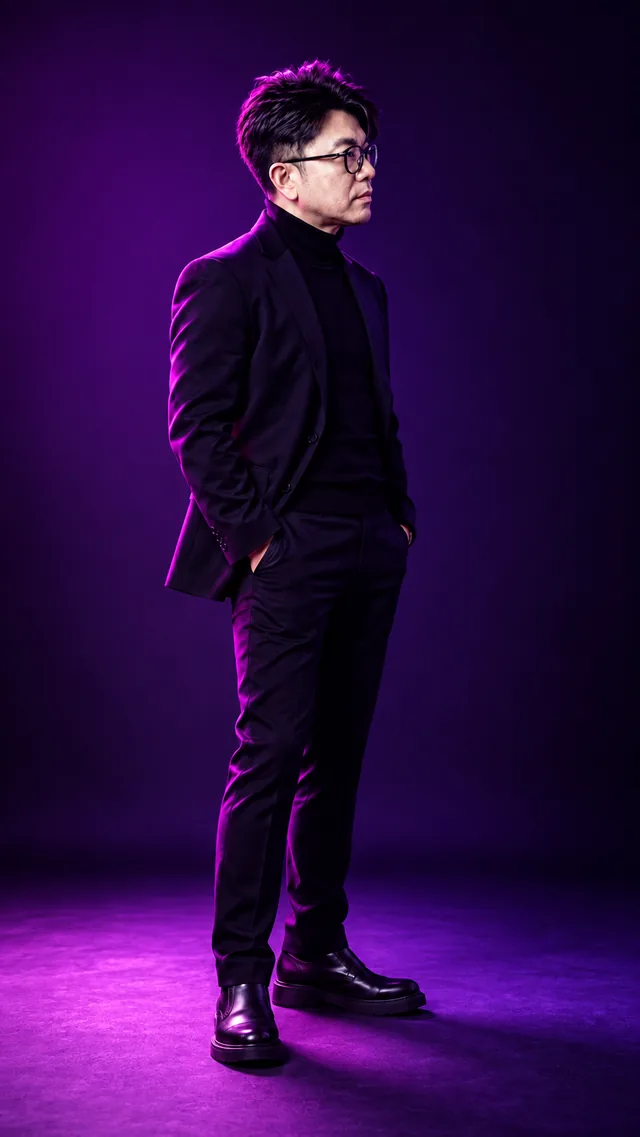
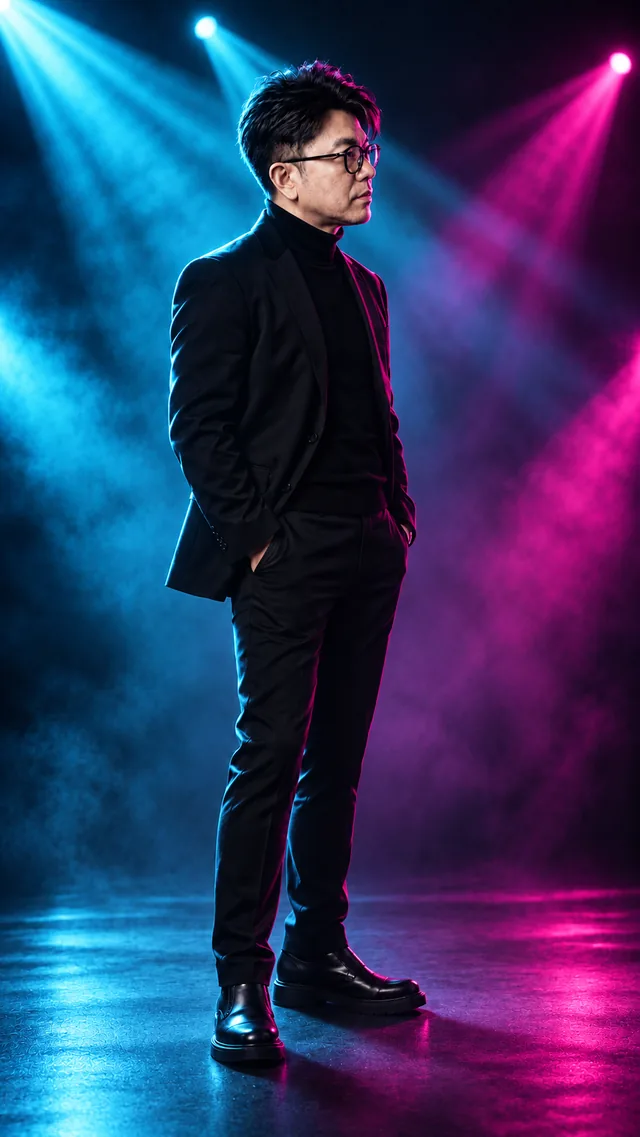
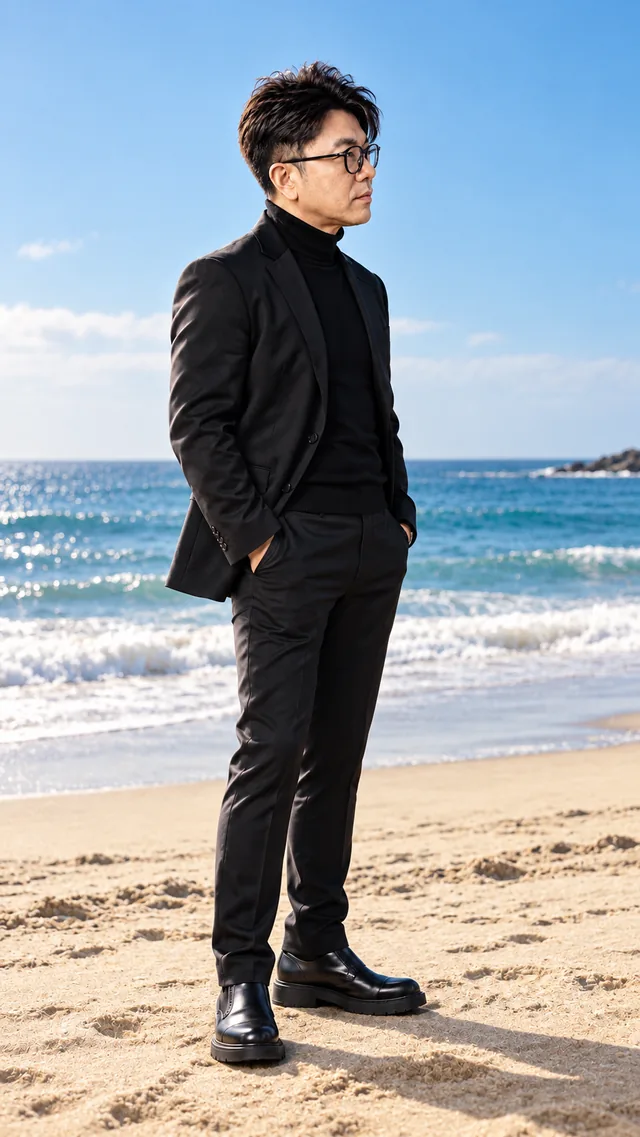
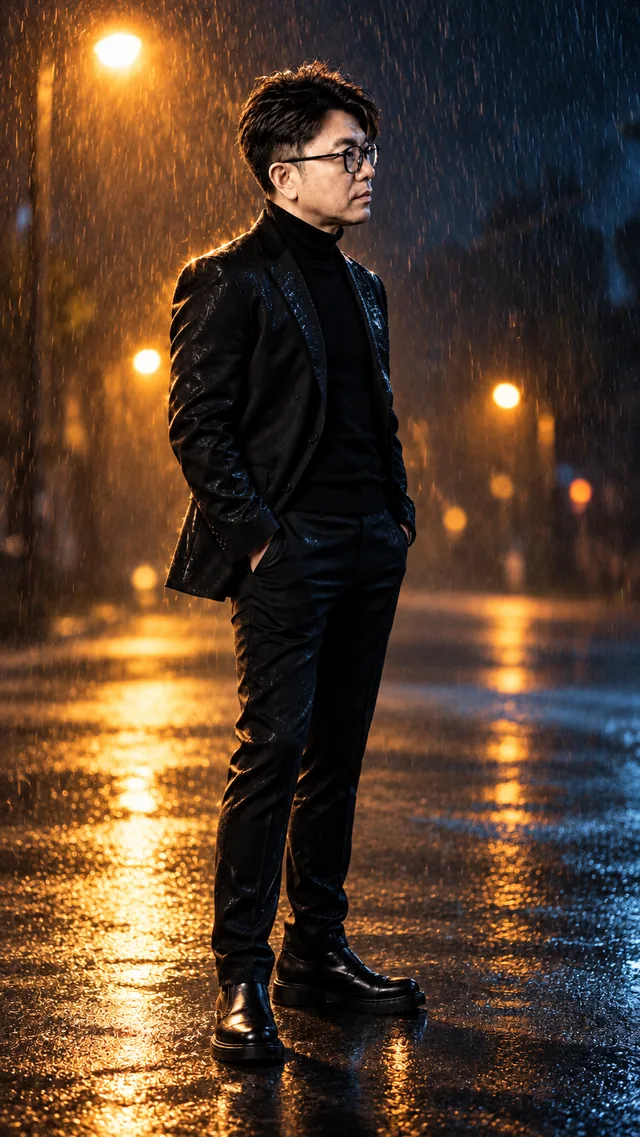
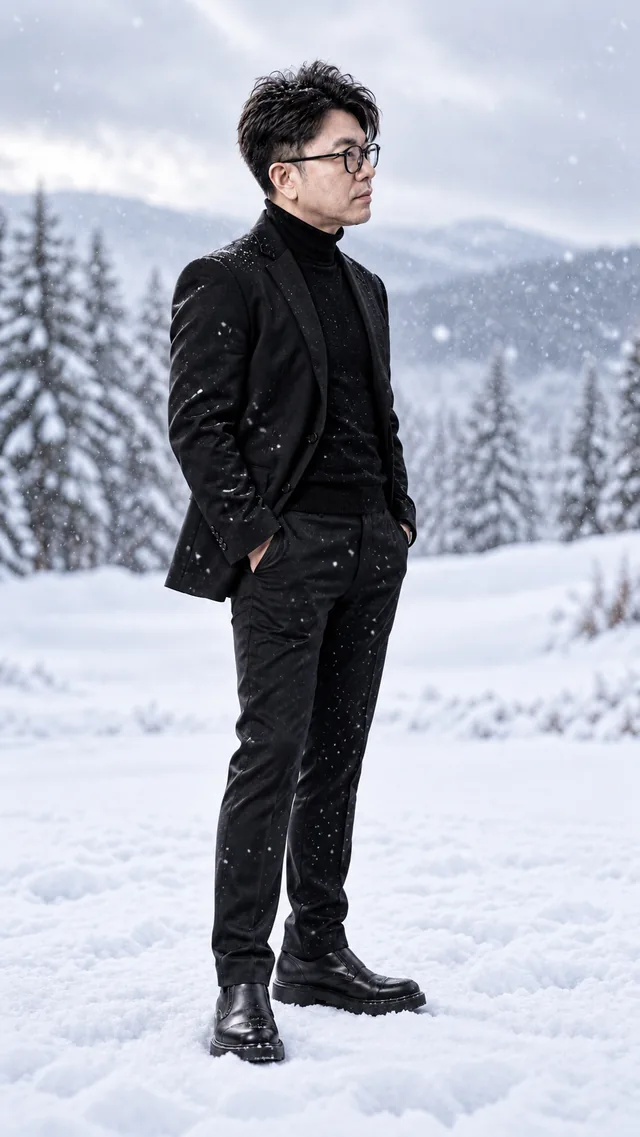
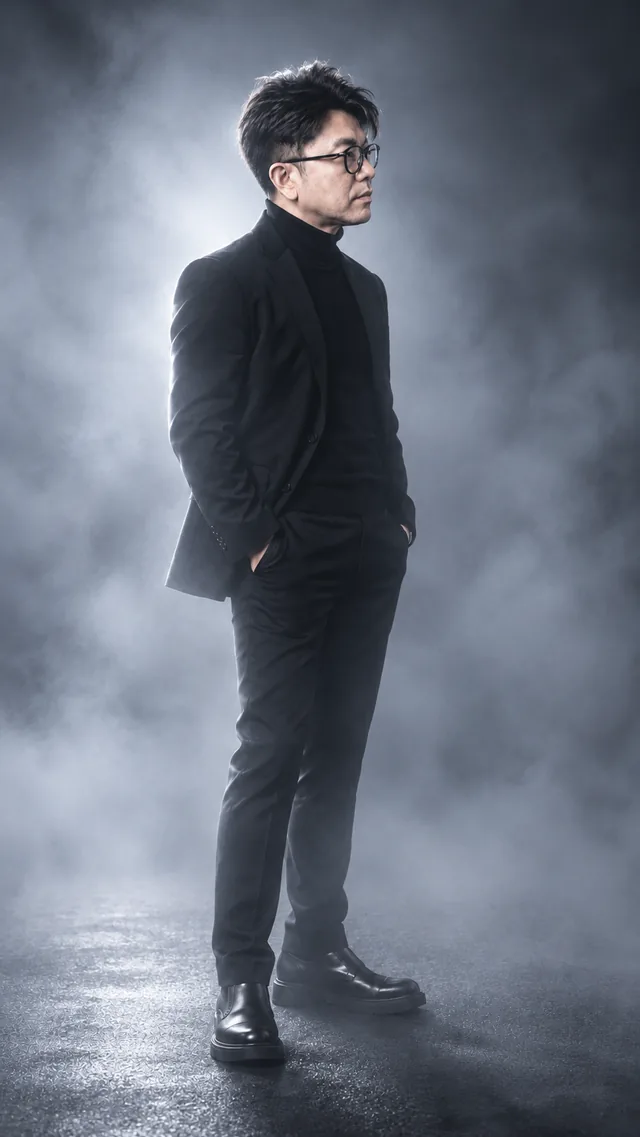
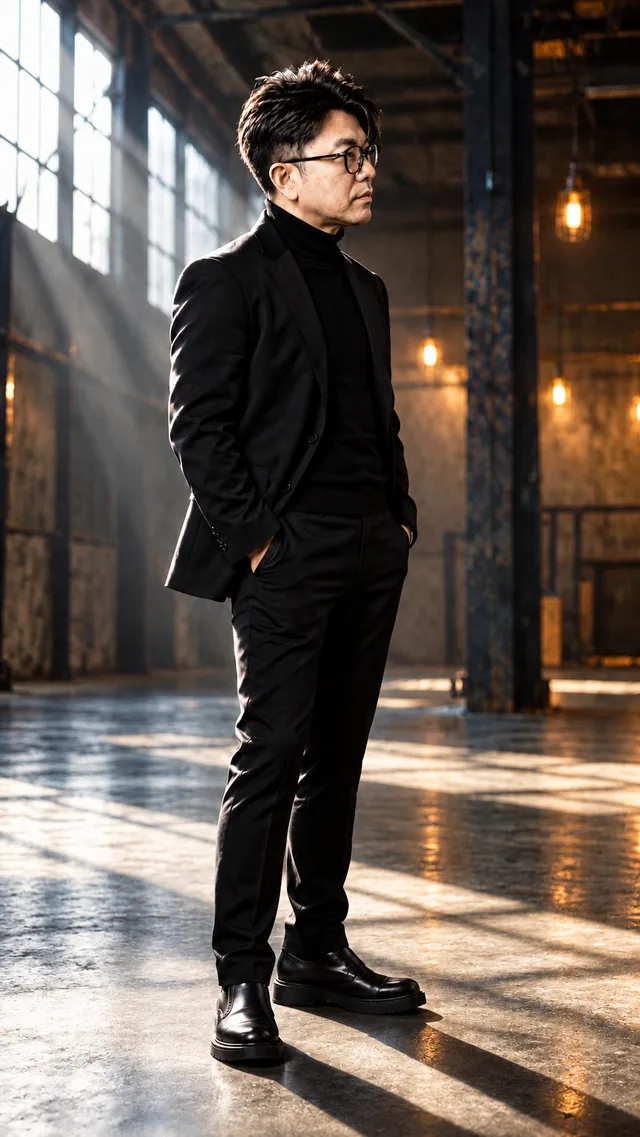
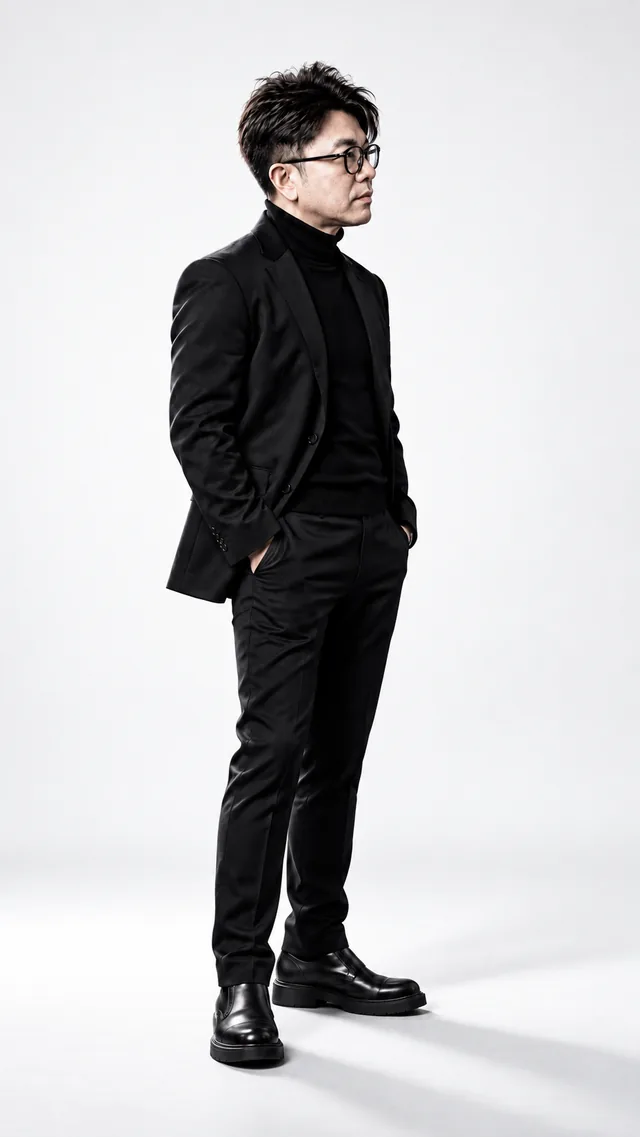
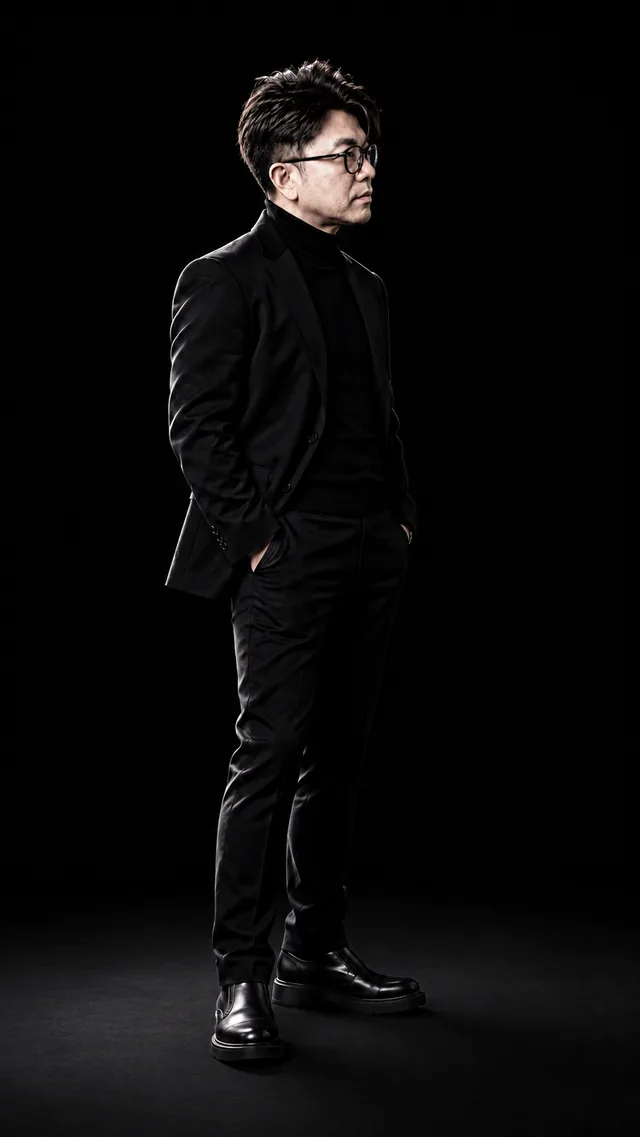
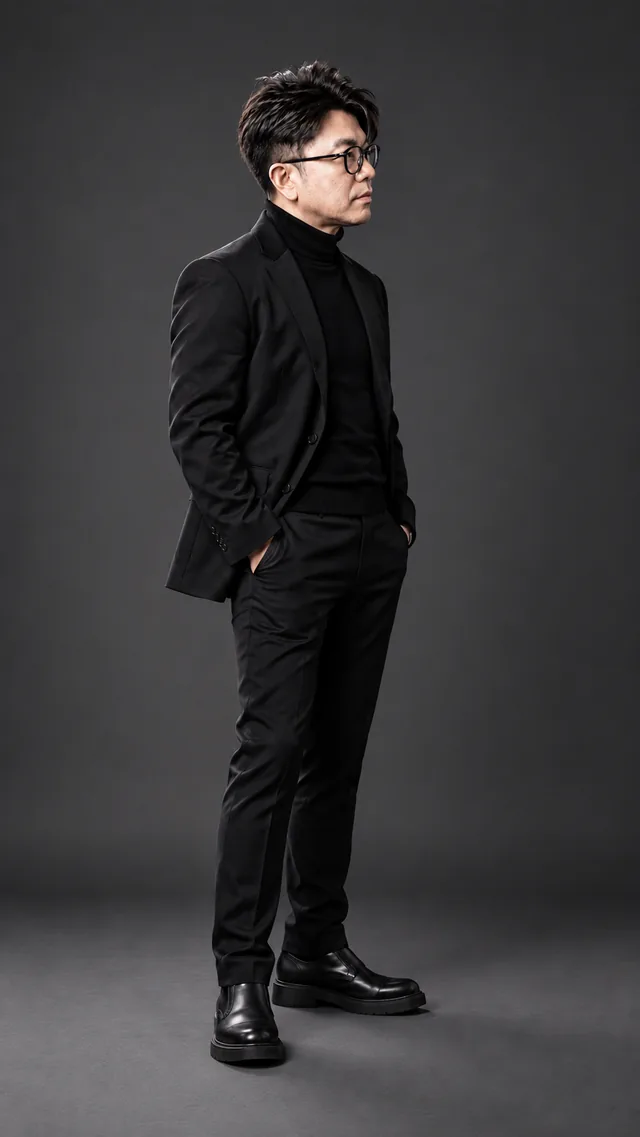
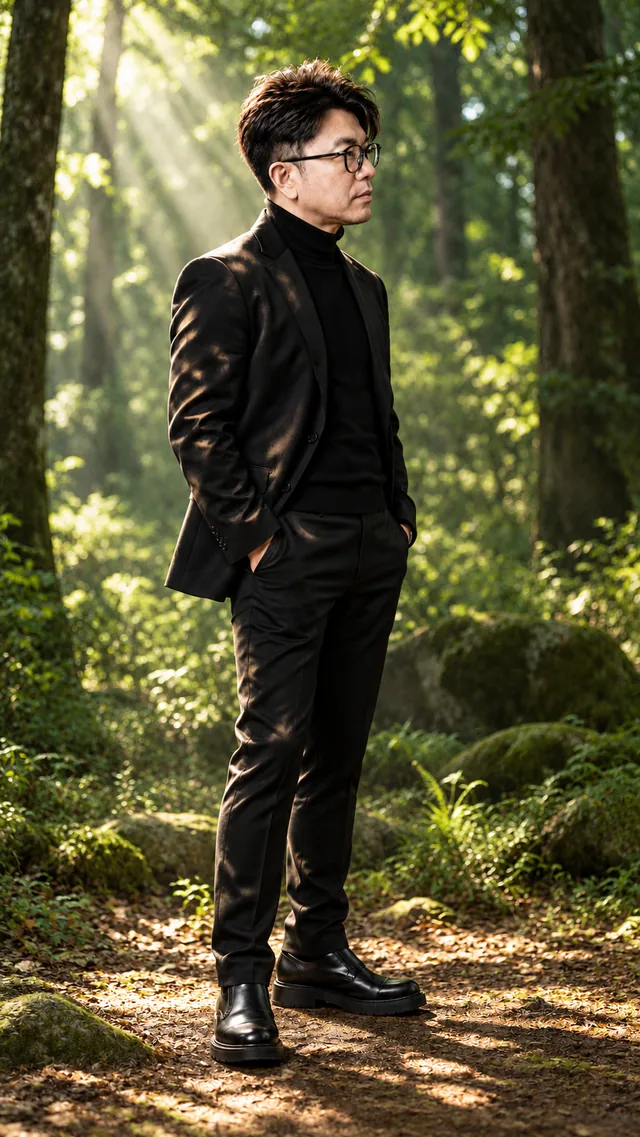
AI-generated visual studies based on one reference portrait. These examples illustrate an intended effect; fine facial shadow patterns can vary. Some entries describe colour treatments or environments rather than distinct studio light positions. Use the notes and diagrams to understand the difference. View the original portrait →
A SMALL CREATIVE WORKFLOW

How to use Lighting Lab

  1. Choose a lighting style

    Browse the gallery or filter by category.

  2. Study the subject

    Look at the face, fabric, edges and shadows.

  3. Copy the AI prompt

    Open a detail and copy the full lighting description.

  4. Use your own subject

    Replace the placeholder and attach a reference image.

  5. Adjust one variable

    Change mood, colour or intensity and compare.

  6. Generate and refine

    Review the result and refine the light, not just the label.

Don’t just copy the lighting name.
Understand what the light is doing.

THE PROMPT FORMULA

Build better lighting prompts

SubjectProfessional portrait
Light direction45° side key light
Light qualitySoft, directional light
Colour temperatureWarm 4200K tone
ShadowDeep, controlled shadows
EnvironmentDark studio
MoodDramatic, sophisticated
Photographic lookCinematic photography

Combine the eight parts into one clear description. A colour temperature is a creative cue, not a guarantee that every image model will simulate a calibrated light.

A LITTLE LIGHT THEORY

Useful answers.
Better decisions.

What is cinematic lighting?

Cinematic lighting uses direction, contrast, colour and falloff to guide attention and support a story. It is an intentional approach, not a single lamp position or colour preset.

What is Rembrandt lighting?

Position the key light above and to one side of the face, then adjust it until the nose shadow meets the cheek shadow. A small triangle of light remains below the eye on the darker cheek. The familiar forty-five-degree starting point is a guide; face shape and head angle determine the final position.

What is butterfly lighting?

Raise a light in front of the face to create a small, centred shadow beneath the nose. This pattern can emphasise cheekbones and the jaw. A low reflector may soften shadows beneath the chin. Position the source relative to the direction of the face, especially when the subject is turned away from the camera.

What is split lighting?

Move the key roughly to the side of the subject's face, so one half is lit and the other falls into shadow. The dividing line follows the face rather than the frame. Small changes in head direction can break the split, so judge the nose, forehead and cheek together before adding any fill.

What is rim lighting?

A light behind and to the side grazes the subject's edge, drawing a narrow bright line around hair, shoulders or clothing. This separates a dark subject from a dark background without lighting the whole face. Keep spill controlled. A rim can be the main visual statement or a supporting light in a larger setup.

What lighting is best for portraits?

There is no single best setup. Soft window or loop lighting is a useful starting point for approachable portraits. Rembrandt and short lighting add more shadow and shape; rim light helps separate dark clothing. Choose according to the face, setting and mood.

How do you describe lighting in an AI image prompt?

Specify where the light comes from, how soft or hard it is, its colour and intensity, the shape of the shadows and the environment. Then add mood and photographic detail. Attach a reference image when identity or composition needs to remain consistent.

What is the difference between high-key and low-key lighting?

High-key images are dominated by bright tones with gentle shadows. Low-key images keep most of the frame dark with selective highlights. Both can preserve correct skin exposure; neither is simply overexposure or underexposure.

From experiment to practice

Style and light are creative decisions.

These free explorations show how visual references become directed work. See how Han Yong brings that process into creative direction and corporate AI training.

Explore AI Creative Work →

Created by Han Yong / ehyong.com
AI Creative Training · Visual Direction · Creative Workflows

中文